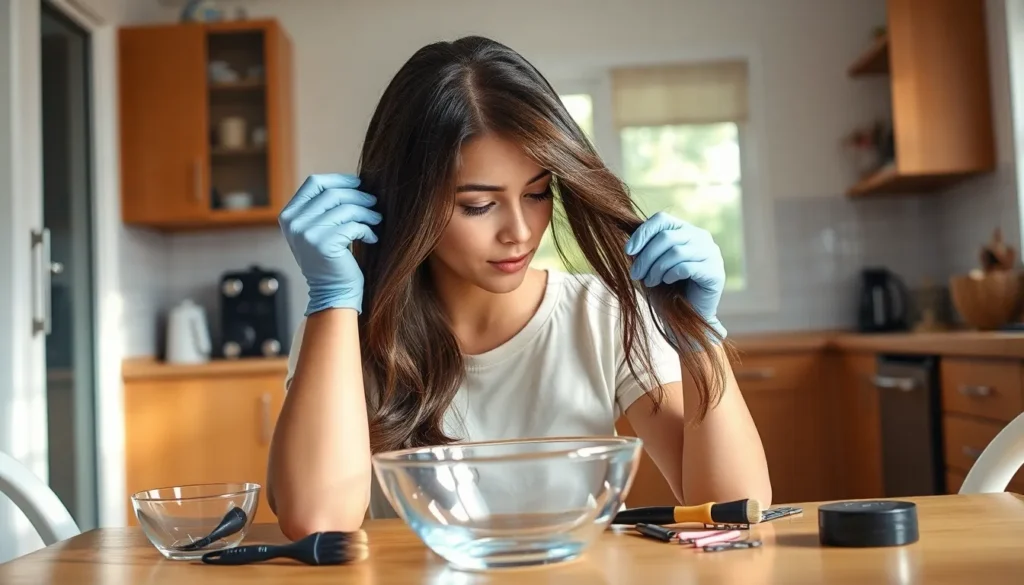
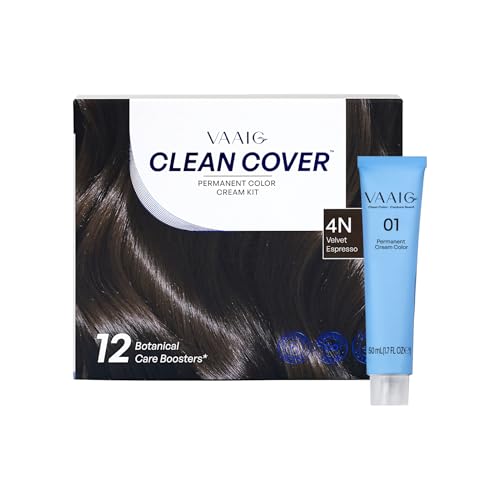
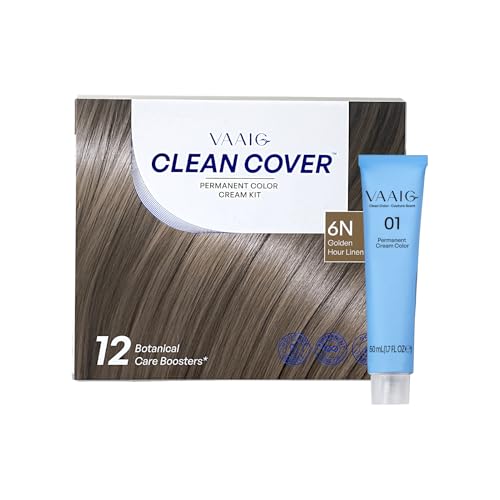
We’ve all been there – staring at our reflection and craving a fresh new look that won’t expensive or require hours at the salon. At-home hair coloring has revolutionized how we transform our appearance, offering endless possibilities right from our bathroom mirror.
The beauty industry has made incredible strides in developing professional-quality hair color products that deliver stunning results without the hefty price tag. From temporary hair chalks to semi-permanent dyes and bold fashion colors, we now have access to the same vibrant shades that were once exclusive to high-end salons.
Whether you’re looking to cover grays, add subtle highlights, or make a dramatic statement with rainbow hues, DIY hair coloring puts creative control entirely in your hands. We’ll explore the most exciting at-home hair color trends, share expert techniques, and reveal insider secrets that’ll help you achieve salon-worthy results while saving time and money.
Bold Brunette Transformations for Dark Hair
Dark hair offers the perfect canvas for stunning brunette transformations that can dramatically enhance your natural beauty without the commitment of permanent salon visits.
Rich Chocolate Brown Shades
Chocolate brown delivers incredible depth and dimension to naturally dark hair. We recommend starting with a semi-permanent chocolate brown dye that’s 1-2 shades darker than your natural color for the most flattering results. Medium chocolate tones work beautifully on hair with warm undertones, while darker chocolate shades complement cooler skin tones perfectly.
Processing time typically ranges from 25-35 minutes for optimal color saturation. Popular brands like Clairol Natural Instincts and L’Oréal Paris Excellence offer excellent chocolate brown options that fade gradually over 4-6 weeks. Apply the color in 1-inch sections from roots to ends, ensuring even coverage throughout your hair.
Maintenance becomes effortless with chocolate brown since it blends seamlessly with natural regrowth. Touch up your roots every 6-8 weeks to maintain the rich color intensity, and use color-safe shampoo to extend the vibrancy between applications.
Espresso and Coffee-Inspired Tones
Espresso tones create sophisticated darkness with subtle warmth that flatters most skin tones. These deep coffee shades work exceptionally well on naturally black or very dark brown hair, adding richness without appearing flat or one-dimensional. We suggest choosing espresso colors with slight red or golden undertones to prevent the harsh look that pure black can sometimes create.
Coffee-inspired shades require 30-40 minutes of processing time for full color development. Brands like Garnier Nutrisse and Revlon Colorsilk offer excellent espresso and dark coffee options that provide long-lasting results. Mix the developer thoroughly with the color cream to ensure consistent application across all sections.
Conditioning treatments become essential when working with these deeper tones. Apply a deep conditioning mask weekly to maintain hair health and enhance the glossy finish that makes espresso colors so striking. Use purple-tinted shampoo occasionally to prevent any unwanted brassiness from developing over time.
Adding Subtle Auburn Highlights
Auburn highlights bring warmth and movement to dark brunette hair without overwhelming your natural color. We recommend using highlighting caps or foil techniques to create natural-looking auburn streaks that complement your base color. Choose auburn shades that are 2-3 levels lighter than your natural hair for the most flattering contrast.
Placement strategy determines the overall impact of your auburn highlights. Focus on framing pieces around your face and scattered highlights throughout the crown area for dimension. Apply the auburn color only to selected strands, leaving 30-45 minutes for processing depending on your desired intensity level.
Blending techniques help create seamless transitions between your natural color and auburn highlights. Use a wide-tooth comb to gently blend the colors while the product processes, and rinse thoroughly with cool water to seal the cuticles. Follow up with a color-protecting conditioner to maintain both your base color and highlights between touch-up sessions.
Blonde Ambition: Lightening Techniques at Home
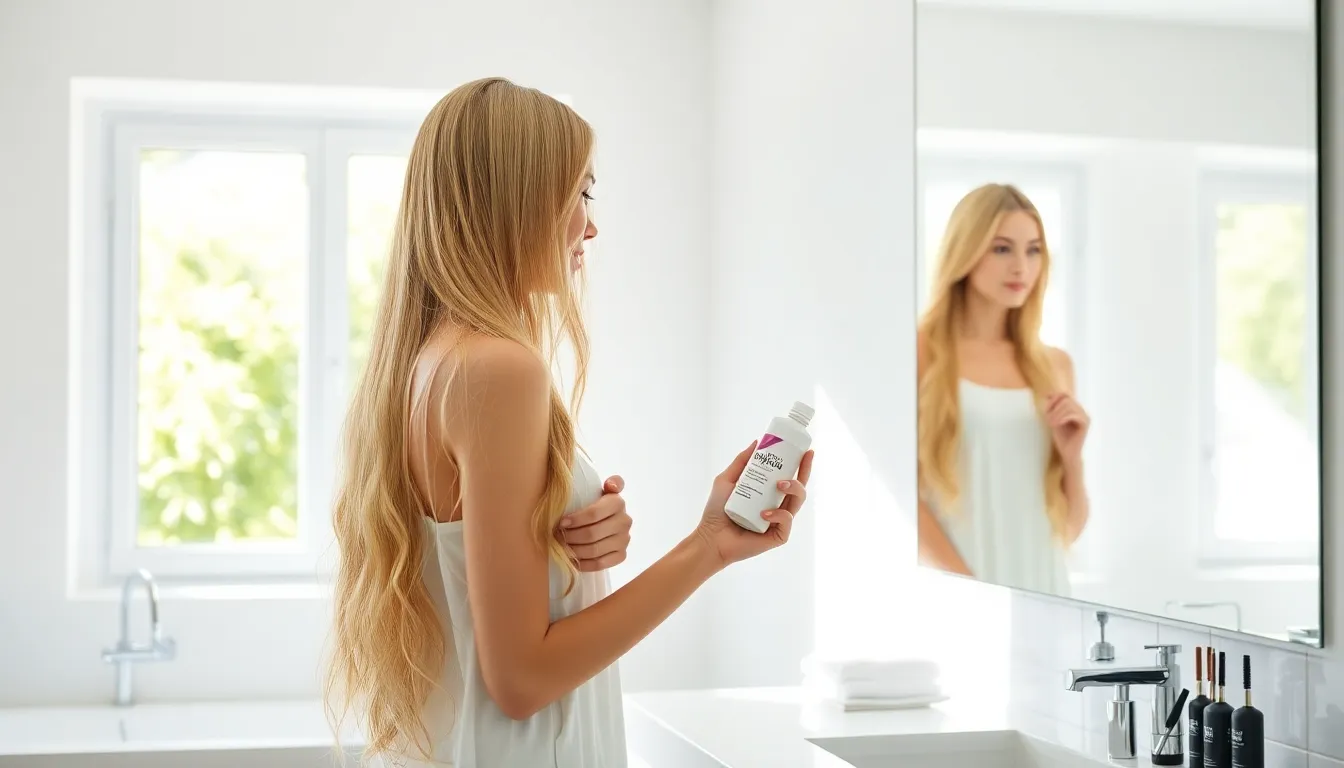
Transitioning from deeper tones to blonde requires understanding various home techniques. We’ll explore effective methods that deliver professional results without the salon price tag.
Gradual Blonde Highlighting Methods
Balayage techniques offer natural looking highlights through freehand painting methods. We recommend starting with lightening shampoos and sprays that gradually brighten hair over multiple washes. These products work best for improving existing natural highlights rather than creating dramatic transformations.
Foil highlighting provides precise control over lightener placement. We suggest using this method when you want strategic blonde sections. The foils isolate hair strands and allow for more controlled application of bleaching products.
Lightening sprays work effectively for subtle changes over time. We find these products ideal for first time blonde experiments. Application involves misting damp hair and allowing natural or heat styling to activate the lightening agents.
Platinum and Ash Blonde Options
Platinum blonde requires important lightening through multiple bleach applications. We typically see this process involving 3 to 5 toning sessions to achieve the pale icy finish. Super lightening color treatments can lighten hair by 3 to 5 tones in a single step as a gentler alternative to traditional bleaching.
Ash blonde tones develop through careful toning after initial lightening. We recommend using ash based products to neutralize warm undertones. The process involves applying bleach with developer first, then following with purple or blue based toners.
Maintenance scheduling becomes crucial for platinum and ash shades. We suggest weekly toning treatments to prevent brassiness. Purple shampoos help maintain the cool toned appearance between major color applications.
Honey and Caramel Blonde Variations
Honey blonde shades create warm golden tones through strategic lightening and toning. We achieve these results using honey or caramel based toning products after initial bleaching. The warm undertones complement most skin tones naturally.
Caramel highlights develop rich golden hues with darker dimensional tones. We recommend placing these lighter sections over darker base colors for maximum contrast. The technique involves foil highlighting combined with caramel toned developers.
Application timing varies between honey and caramel variations. We find honey tones require 25 to 35 minutes of processing time. Caramel shades often need longer development periods to achieve the deeper golden finish.
Creative Color Combinations for Adventurous Looks
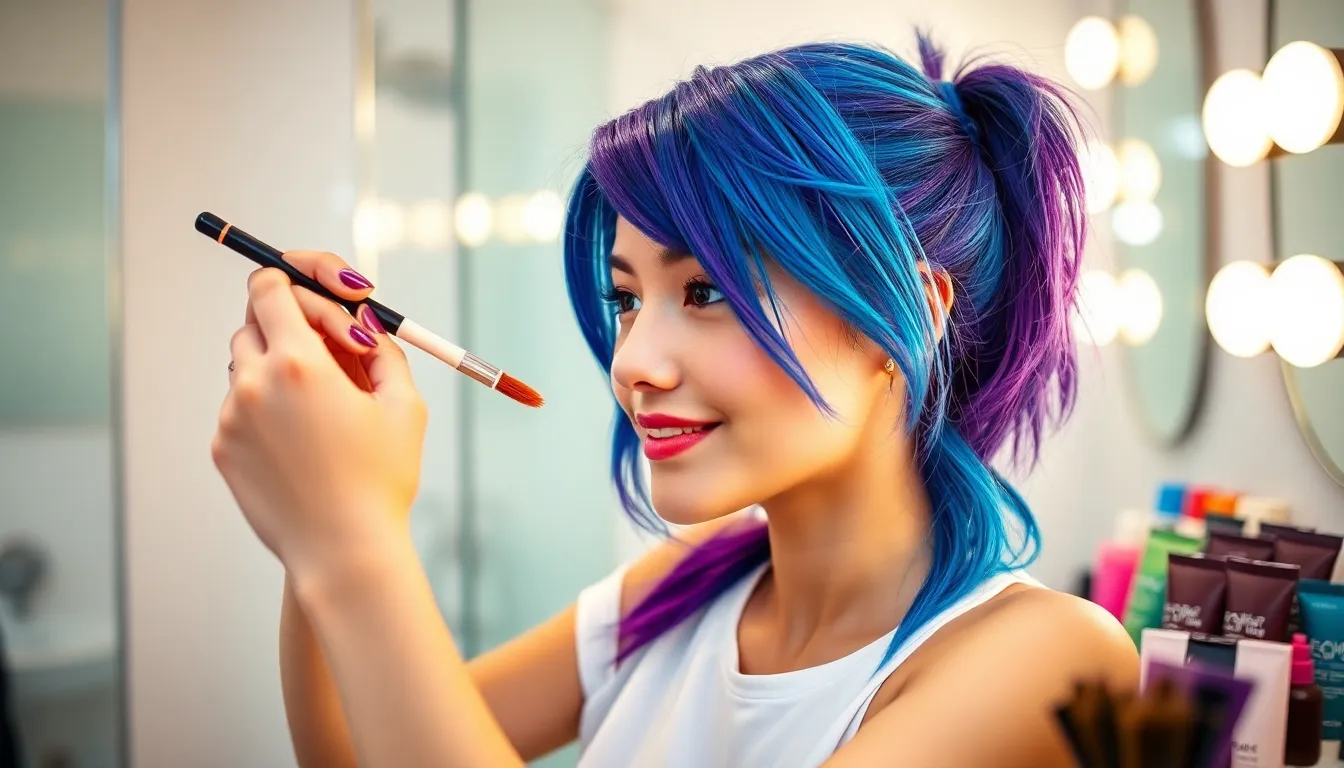
We’re diving into bold territory where mixing vibrant shades creates stunning visual impact. Combining fiery red with platinum blonde or deep purple with electric blue produces dramatic results that showcase your creative personality.
Ombre and Balayage Techniques
Ombre creates beautiful transitions from dark roots to lighter ends, making it one of the most popular at-home coloring techniques. We recommend sectioning your hair carefully and blending colors gradually to achieve that natural gradient effect. Balayage offers a different approach with hand-painted highlights that mimic sun-kissed strands.
Both techniques require proper developer selection and color matching for your exact hair type. Starting with the darkest shade at your roots, we gradually lighten toward the ends using gentle blending motions. Professional stylists suggest performing strand tests before full application to ensure your desired results.
These methods adapt beautifully for both classic brown-to-blonde transitions and bold color combinations. Processing times typically range from 25-45 minutes depending on your starting color and desired intensity level.
Two-Tone Color Blocking
Two-tone color blocking splits hair into distinct sections using contrasting colors for maximum visual drama. We create this modern look by parting hair down the middle or in horizontal bands before applying different shades to each section.
Popular combinations include black paired with silver, neon pink with teal, or dark brown contrasted with caramel highlights. Using foil or clips ensures precision during application and prevents color bleeding between sections.
Semipermanent dyes work excellently for temporary two-tone effects, while permanent options provide longer-lasting results. We recommend starting with less dramatic color differences if you’re new to this technique.
Rainbow and Pastel Streaks
Rainbow streaks add whimsical pops of color through small, strategically selected hair sections. We apply semipermanent or temporary dyes to create customizable effects that change easily with your mood or season.
Pastel shades like lavender, mint, and baby pink offer subtle yet statement-making alternatives to bold rainbow colors. Face-framing streaks provide maximum visibility, while hidden underlayers offer flexibility for professional settings.
Creative placement techniques include alternating colors in thin sections or concentrating multiple pastels in exact areas. These temporary options typically last 4-8 washes, making them perfect for experimenting without long-term commitment.
Natural-Looking Red Hair Color Ideas
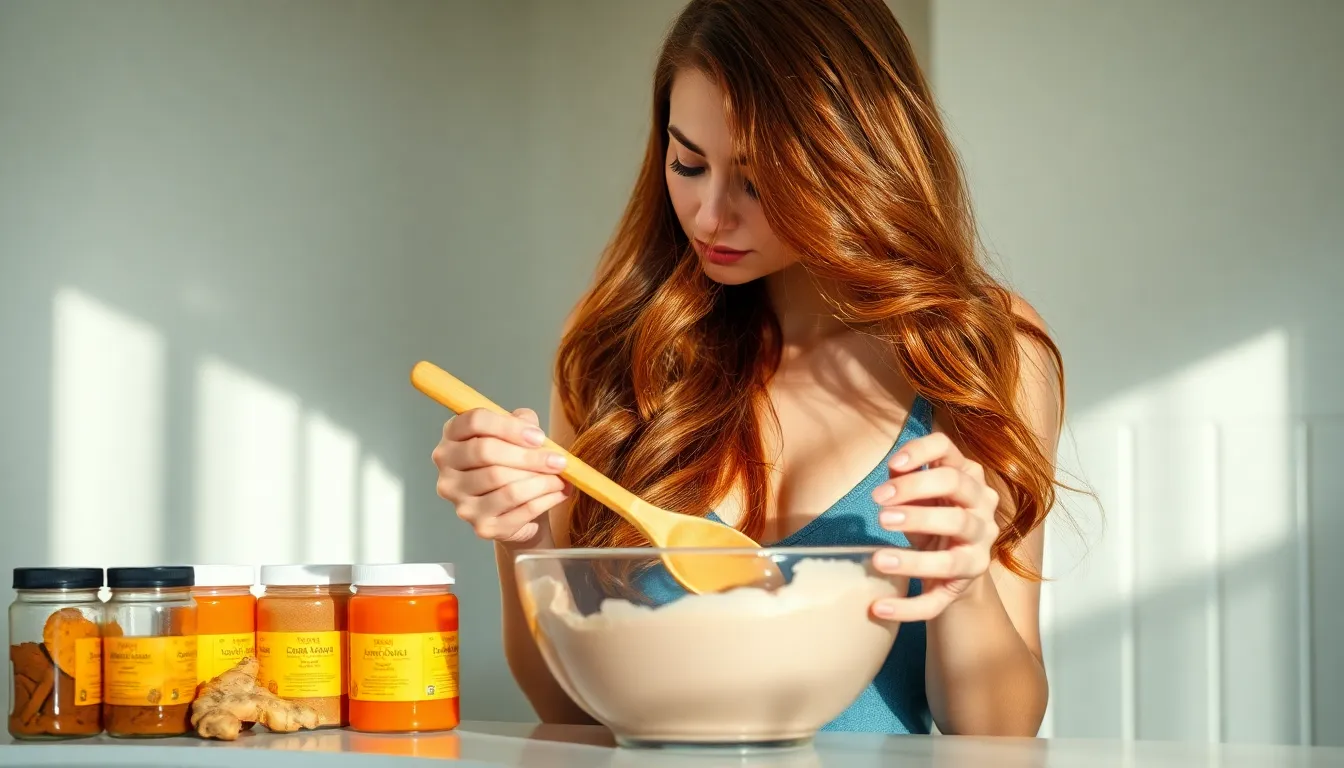
We can achieve stunning red tones at home using natural ingredients that deliver beautiful results without harsh chemicals. These methods create authentic looking color while nourishing your hair naturally.
Copper and Auburn Shades
Cinnamon and ginger combinations create warm copper tones when mixed with henna for a rich auburn finish. We recommend blending 2 tablespoons of cinnamon powder with 1 tablespoon of ground ginger into your henna paste for enhanced warmth.
Cayenne pepper additions intensify red colors and produce vibrant copper hues that catch light beautifully. Add 1 teaspoon of cayenne pepper to your henna mixture to achieve deeper copper saturation and longer lasting results.
Carrot juice applications deliver reddish orange tints that create natural looking copper highlights throughout your hair. Mix fresh carrot juice with coconut oil in equal parts and apply for 60-90 minutes before rinsing with apple cider vinegar.
Strawberry Blonde Options
Lemon juice and chamomile blends produce golden tones that perfectly complement natural red undertones for authentic strawberry blonde effects. Combine fresh lemon juice with strong chamomile tea in a 1:2 ratio and apply to damp hair for 45 minutes.
Lightening spray techniques help achieve subtle blonde streaks that blend seamlessly with existing red tones. We suggest using these natural lighteners on small sections first to test color development before full application.
Honey treatments add golden highlights while conditioning your hair naturally for healthier looking strawberry blonde results. Mix raw honey with distilled water and leave on hair for 2-4 hours for gradual lightening effects.
Deep Burgundy and Wine Tones
Blackberry and pomegranate combinations create rich burgundy colors with depth and complexity that rivals salon treatments. Extract juice from fresh berries and apply directly to hair for 90 minutes to achieve wine inspired tones.
Henna and coffee mixtures produce deep wine colored results that last longer than traditional temporary dyes. Brew strong coffee and mix with henna powder to create a paste that delivers sophisticated burgundy shades.
Beet juice applications offer deeper red colors with cooler undertones perfect for burgundy transformations. Apply fresh beet juice mixed with olive oil and let process for 2 hours before rinsing thoroughly with cool water.
Essential Tools and Products for DIY Hair Coloring
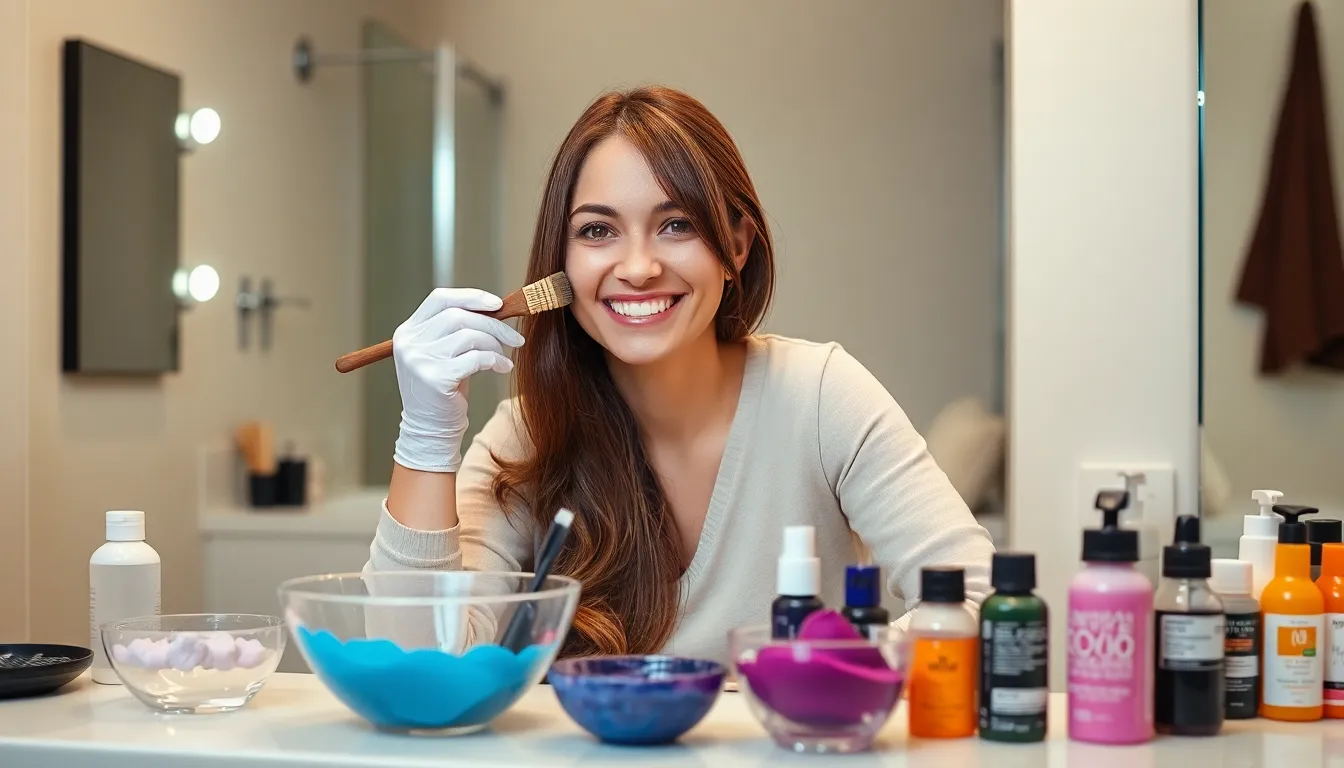
Before diving into your at home hair coloring transformation, gathering the right tools and products makes all the difference. Professional results start with quality equipment that ensures even application and vibrant, lasting color.
Professional-Grade Hair Dye Brands
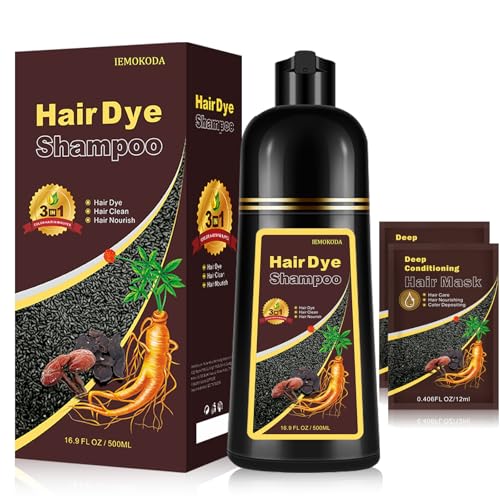
Madison Reed stands out as our top recommendation for ammonia free hair dye that delivers multi dimensional color results. This brand provides 100% gray coverage while remaining free of harsh chemicals and maintaining cruelty free standards.
Revlon ColorSilk with Bond Repair earns recognition for its exceptional conditioning properties and superior coverage capabilities. Users consistently report salon quality results with this affordable drugstore option.
Phytocolor Permanent Hair Color utilizes plant based ingredients to create gentle coloring formulas that minimize hair damage. Natural botanicals in this brand work effectively for those with sensitive scalps or chemically processed hair.
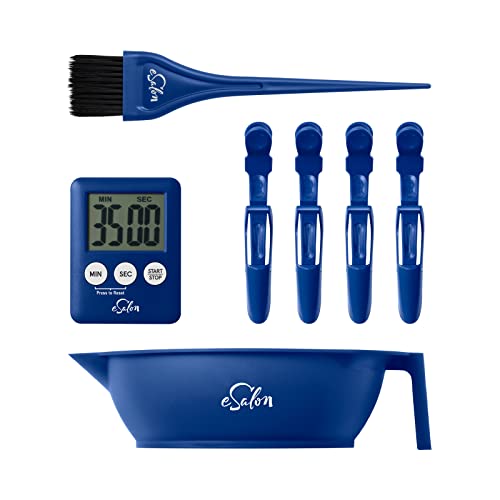
eSalon offers custom hair color created by professional colorists who analyze your exact hair needs. Personalized formulations ensure you receive the exact shade match for your desired look.
Brushes, Gloves, and Application Tools
Protective gloves prevent skin staining and come included in most standard hair color kits. Nitrile gloves offer superior chemical resistance compared to basic plastic versions.
Application brushes ensure even, precise color distribution throughout your hair sections. Quality brushes feature tapered bristles that reach every strand for consistent coverage.
Sectioning clips and combs divide hair into manageable portions that guarantee thorough color application. Professional colorists recommend using at least 6-8 clips for shoulder length hair.
Mixing bowls and applicator bottles combine hair dye and developer to the proper consistency. Non metallic bowls prevent chemical reactions that could affect your final color results.
Microfiber towels or foils protect colored hair during the processing phase. These materials maintain consistent temperature and prevent color from transferring to surrounding areas.
Color-Safe Shampoos and Conditioners
Sulfate free formulas preserve your newly colored hair by gently cleansing without stripping color molecules. Harsh sulfates cause premature fading and dullness in dyed hair.
Deep conditioning treatments often come included in premium hair color kits to restore moisture after the coloring process. Weekly treatments maintain hair health and color vibrancy for extended periods.
Color protecting shampoos contain specialized ingredients that seal the hair cuticle and lock in color pigments. Purple shampoos specifically combat brassiness in blonde and silver tones.
Leave in conditioners provide ongoing protection against environmental factors that cause color fading. UV filters in quality products shield hair from sun damage throughout the day.
| Tool/Product | Purpose/Feature |
|---|---|
| Hair dye & developer | Create color, activate dye |
| Gloves & applicator tools | Protect hands, even application |
| Clips, combs | Section hair for even coverage |
| Color safe shampoo/conditioner | Preserve color, maintain hair health |
| Professional brands | Madison Reed, Revlon, Phytocolor, eSalon |
Safety Tips and Preparation Steps
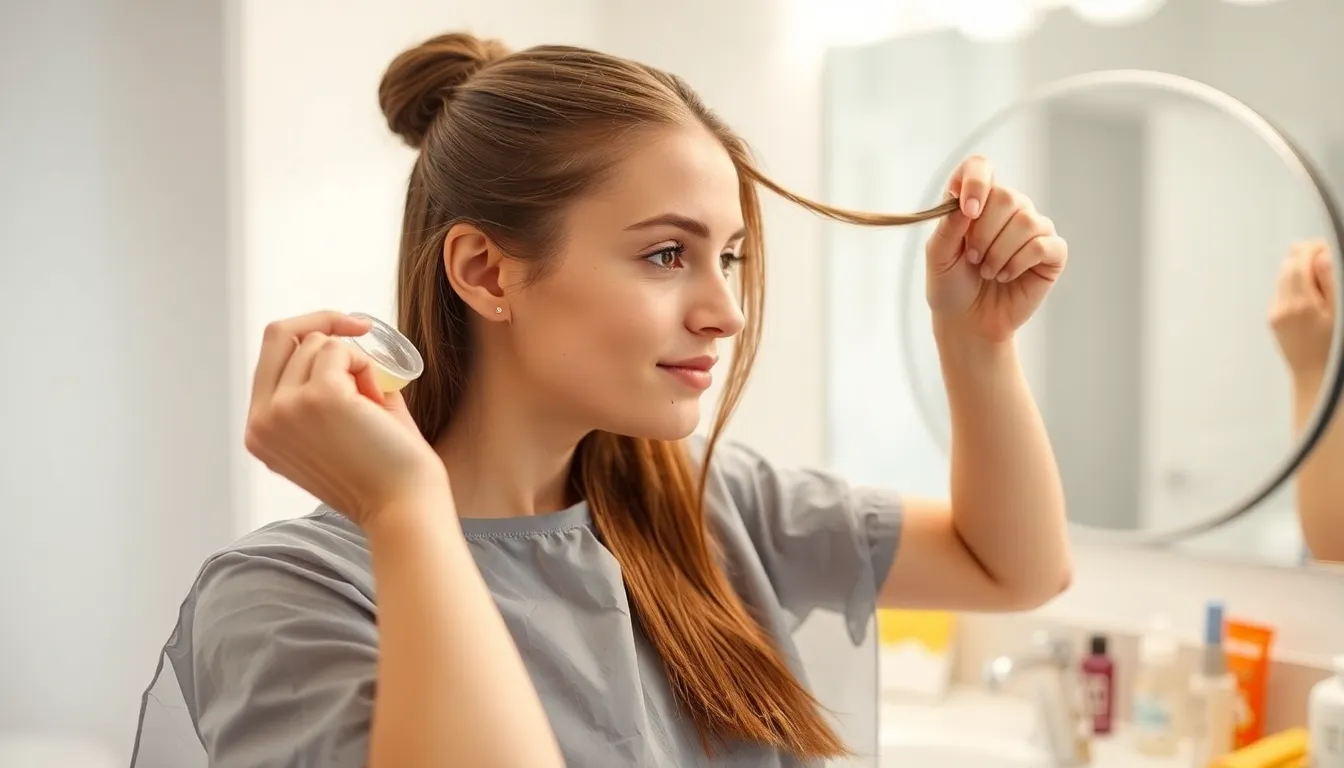
Before we jump into the coloring process, let’s establish the essential safety measures and preparation steps that’ll ensure your DIY hair transformation goes smoothly.
Conducting Strand and Patch Tests
Allergy testing comes first when we’re preparing for any hair color adventure. We need to mix a small amount of dye with developer and apply it to the inside of our elbow or behind our ear, then wait 48 hours to check for any allergic reactions. This simple step prevents potentially serious skin reactions that could ruin our coloring experience.
Strand testing follows our patch test and serves as our color preview. We’ll apply the dye mixture to a small, hidden section of hair to verify the color outcome and ensure it won’t cause unexpected damage. Testing gives us confidence in our color choice and processing time before we commit to the full application.
Protecting Your Skin and Clothing
Vaseline application along our hairline and ears creates an effective barrier against dye stains. We should apply petroleum jelly generously to prevent the color from marking our skin during the application process. This protective layer makes cleanup much easier and keeps our skin looking its best.
Clothing protection requires either old garments we don’t mind staining or a proper hair coloring cape. We can’t predict every drip or splash during application, so wearing expendable clothes saves our favorite outfits from permanent damage. Professional capes offer complete coverage and easy cleanup when we want extra protection.
Understanding Hair Porosity and Condition
Hair porosity affects how our strands absorb and hold color, making it crucial to understand before we begin. High porosity hair absorbs dye more quickly and may need shorter processing times, while low porosity hair requires longer development periods for optimal color penetration. We can test porosity by dropping a clean strand of hair into water and observing how quickly it sinks.
Hair preparation works best when we color on hair that’s been unwashed for 1 to 2 days, allowing natural oils to protect our scalp. We should shampoo no sooner than 24 hours before coloring to maintain this protective barrier while ensuring our hair isn’t too oily for proper dye adhesion. Regular conditioning treatments in the weeks leading up to coloring ensure better color retention and healthier looking results.
Maintenance and Aftercare for Colored Hair
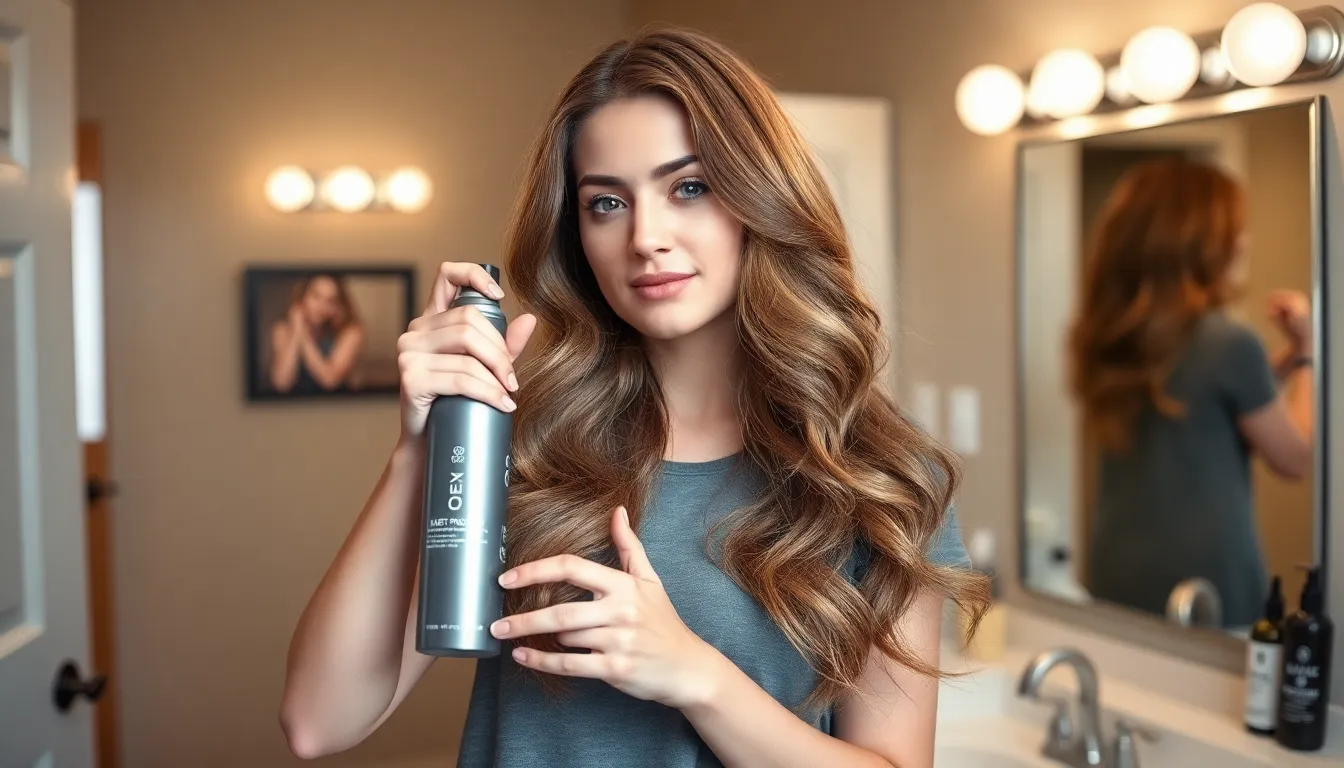
Proper maintenance transforms your DIY hair color from a temporary experiment into a long-lasting, vibrant transformation. Consistent aftercare routines protect your investment while keeping your new shade looking salon fresh.
Touch-Up Scheduling and Root Care
Schedule touch-ups every 4-6 weeks to maintain your root color and prevent noticeable regrowth. Regular maintenance sessions keep your color looking fresh and professional, especially for dramatic shade changes or gray coverage.
Apply dye to roots first when touching up to avoid over-coloring your previously treated lengths. This roots-first method ensures even coverage while protecting the rest of your hair from unnecessary chemical exposure and potential damage.
Use root touch-up products between full color sessions for quick fixes. These targeted answers come in sprays, powders, and temporary sticks that blend seamlessly with your existing color until your next scheduled maintenance appointment.
Heat Protection and Styling Tips
Apply heat protection sprays before using any styling tools to prevent damage and color loss. These products create a protective barrier that shields your hair from temperatures up to 450°F while locking in your color investment.
Limit heat styling frequency to preserve both your hair’s health and color vibrancy. Excessive heat opens the hair cuticle, allowing color molecules to escape and leaving your shade dull or faded.
Use lower temperature settings on your styling tools when possible. Medium heat levels often provide the same styling results while significantly reducing color degradation and hair damage over time.
Choose ceramic or tourmaline tools that distribute heat more evenly than traditional metal plates. These advanced materials reduce hot spots that can cause uneven fading and protect your color’s integrity during styling sessions.
Extending Color Longevity
Wait 72 hours before your first wash to allow the color to set properly and bond with your hair shaft. This crucial waiting period helps prevent premature fading and ensures maximum color retention from your DIY treatment.
Use purple shampoos and conditioners to maintain vibrant colors, especially for lightened or blonde hair. These color-toning products neutralize unwanted brassiness and keep your shade looking fresh between salon visits.
Choose sulfate-free shampoos to prevent color fading and maintain hair health. Harsh sulfates strip natural oils and color molecules, while gentler formulas preserve your investment and keep hair soft and manageable.
Minimize washing frequency to preserve your color as long as possible. Reducing wash sessions to 2-3 times per week prevents unnecessary color loss while maintaining scalp health and hair cleanliness.
Rinse with lukewarm water instead of hot temperatures that cause color to fade faster. Cool water helps seal the hair cuticle and lock in color molecules for extended vibrancy and shine.
Apply color locking masks weekly to seal in your shade and nourish treated hair. These intensive treatments replenish moisture lost during the coloring process while creating a protective barrier around each strand.
Conclusion
Transforming your hair color at home has never been more achievable or rewarding. We’ve shown you that with the right techniques tools and preparation you can create stunning results that rival professional salon work.
Remember that successful DIY hair coloring isn’t just about the application process—it’s about understanding your hair type choosing quality products and committing to proper aftercare. Whether you’re going for subtle highlights or bold creative combinations the key is taking your time and following safety protocols.
Your hair coloring journey doesn’t end when you rinse out the dye. With consistent maintenance routines and the right products your new color will stay vibrant and healthy for weeks to come. Start with small changes build your confidence and soon you’ll be creating the exact look you’ve always wanted from the comfort of your own home.
Frequently Asked Questions
What makes at-home hair coloring a viable alternative to salon visits?
At-home hair coloring has become increasingly accessible due to advancements in the beauty industry. Professional-quality products are now available for home use, including temporary chalks and semi-permanent dyes. These options are significantly more affordable than salon services while offering comparable results when applied correctly with proper techniques.
How do I achieve a chocolate brown hair color at home?
Start with a semi-permanent chocolate brown dye that’s 1-2 shades darker than your natural color. Process for 25-35 minutes according to package instructions. This approach provides rich, enhancing color without the commitment of permanent salon treatments, making it perfect for experimenting with deeper brunette tones.
What’s the difference between balayage and foil highlighting techniques?
Balayage creates natural-looking, hand-painted highlights that mimic sun-kissed effects with gradual color transitions. Foil highlighting provides more precise control over lightener placement and typically results in more uniform, defined highlights. Both techniques can achieve professional results at home with proper application and sectioning.
How can I achieve platinum blonde hair at home safely?
Achieving platinum blonde requires multiple bleach applications and toning sessions. Start with a strand test, apply bleach in sections, and follow with toner to eliminate brassiness. This process should be done gradually over several sessions to prevent damage. Always use deep conditioning treatments between applications.
What natural ingredients can create red hair color effects?
Henna mixed with cinnamon and ginger creates warm copper tones, while carrot juice produces reddish-orange highlights. For deeper shades, try blackberry and pomegranate juice for burgundy tones, or combine henna with coffee for lasting color. These natural methods nourish hair while providing beautiful color results.
Which tools are essential for DIY hair coloring success?
Essential tools include protective gloves, application brushes, sectioning clips, mixing bowls, and a wide-tooth comb. Quality hair dye brands like Madison Reed, Revlon ColorSilk, or eSalon provide reliable results. Don’t forget color-safe shampoos and conditioners to maintain vibrancy after coloring.
How important are strand and patch tests before coloring?
Strand and patch tests are crucial for preventing allergic reactions and ensuring color satisfaction. Perform a patch test 24-48 hours before coloring to check for skin sensitivity. A strand test shows how your hair will respond to the dye and helps determine proper processing time.
How often should I touch up my colored hair?
Schedule touch-ups every 4-6 weeks for optimal color maintenance. Apply dye to roots first during touch-ups, as they process faster than previously colored hair. For quick fixes between appointments, use root touch-up products specifically designed for your color shade.
What’s the best way to maintain colored hair vibrancy?
Wait 72 hours before washing newly colored hair, then use sulfate-free shampoos and minimize washing frequency. Apply color-locking masks weekly, use heat protection sprays before styling, and limit heat styling tools. Purple shampoos help prevent brassiness in blonde hair.
Can I create rainbow or pastel streaks at home?
Yes, rainbow and pastel streaks are achievable at home using temporary or semi-permanent dyes. These whimsical options allow for customizable effects that change with mood or season. Start with lightened sections for vibrant results, and always perform strand tests to ensure desired color outcome.
