Medium-length hair strikes the perfect balance between manageability and versatility, but we know how challenging it can be to find fresh styling ideas that don’t require a professional touch. Whether you’re rushing to work on a Monday morning or prepping for a weekend brunch, you need hairstyles that look effortlessly chic without eating up your precious time.
We’ve all been there – staring at our reflection, frustrated with the same boring ponytail or messy bun routine. The good news? Medium-length hair offers endless possibilities for stunning looks that take just minutes to master. From elegant twists that fool everyone into thinking you spent an hour styling to playful braids that work for any occasion, we’re about to transform your hair game forever.
Ready to discover the styling secrets that’ll make you feel confident and beautiful every single day? Let’s jump into these game-changing hairstyles that’ll become your new go-to favorites.
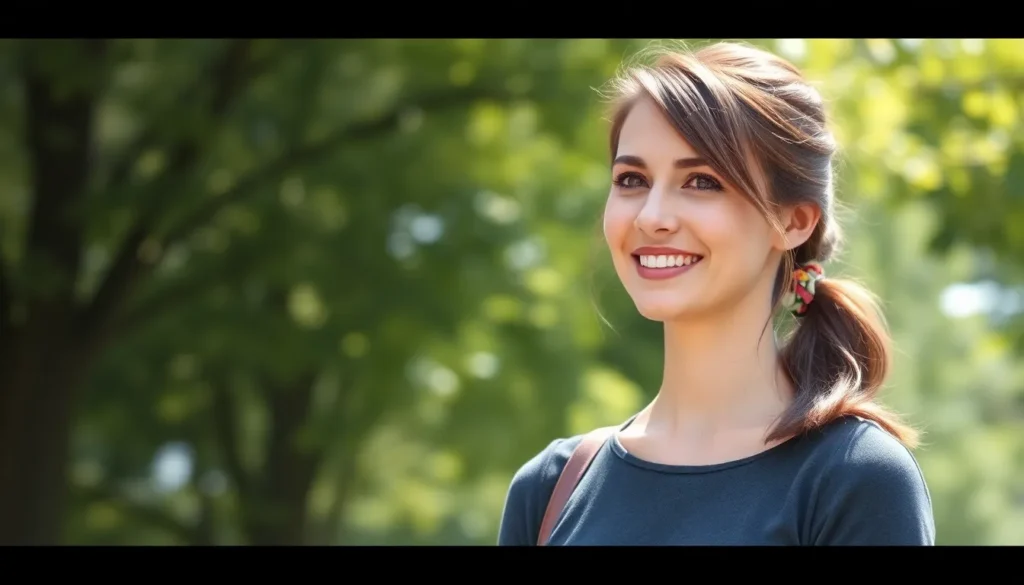
Low Ponytail With Face-Framing Layers
This effortless style combines sophistication with simplicity, making it perfect for both casual outings and professional settings. We love how face-framing layers add movement and dimension while the low ponytail keeps everything polished.
Classic Low Ponytail Technique
Start by brushing your medium-length hair straight back to eliminate any tangles or bumps. We recommend using a paddle brush to create a smooth base that’ll make the ponytail look more refined.
Position the elastic band at the nape of your neck, roughly two inches above where your hairline ends. This placement creates the classic low ponytail look that’s both timeless and flattering for most face shapes.
Pull a small section of hair from underneath the ponytail and wrap it around the elastic band to hide it completely. Secure this wrapped section with a bobby pin that matches your hair color, tucking the pin underneath the ponytail where it won’t be visible.
Gently tug at the crown of your head to create subtle volume and prevent the style from looking too flat. We suggest pulling small sections forward to let those face-framing layers do their work.
Adding Texture With Hair Accessories
Transform your basic low ponytail into something special by incorporating texture-improving accessories that complement your layers. We find that the right accessories can elevate this simple style dramatically.
Scrunchies made from silk or satin materials add gentle texture while protecting your hair from breakage. Choose colors that either match your outfit or provide a subtle contrast to make the ponytail pop.
Ribbon ties create romantic texture when woven through the length of your ponytail or wrapped around the base multiple times. We love how ribbons move with your hair and catch light beautifully.
Hair scarves offer versatility by adding both color and texture to your low ponytail style. Tie a thin scarf around the base of your ponytail or weave it through your layers for bohemian flair.
Pearl hair pins scattered throughout your face-framing layers create elegant texture that works perfectly for special occasions. Place three to five pins asymmetrically around your face for the most natural look.
Half-Up Half-Down Twisted Style
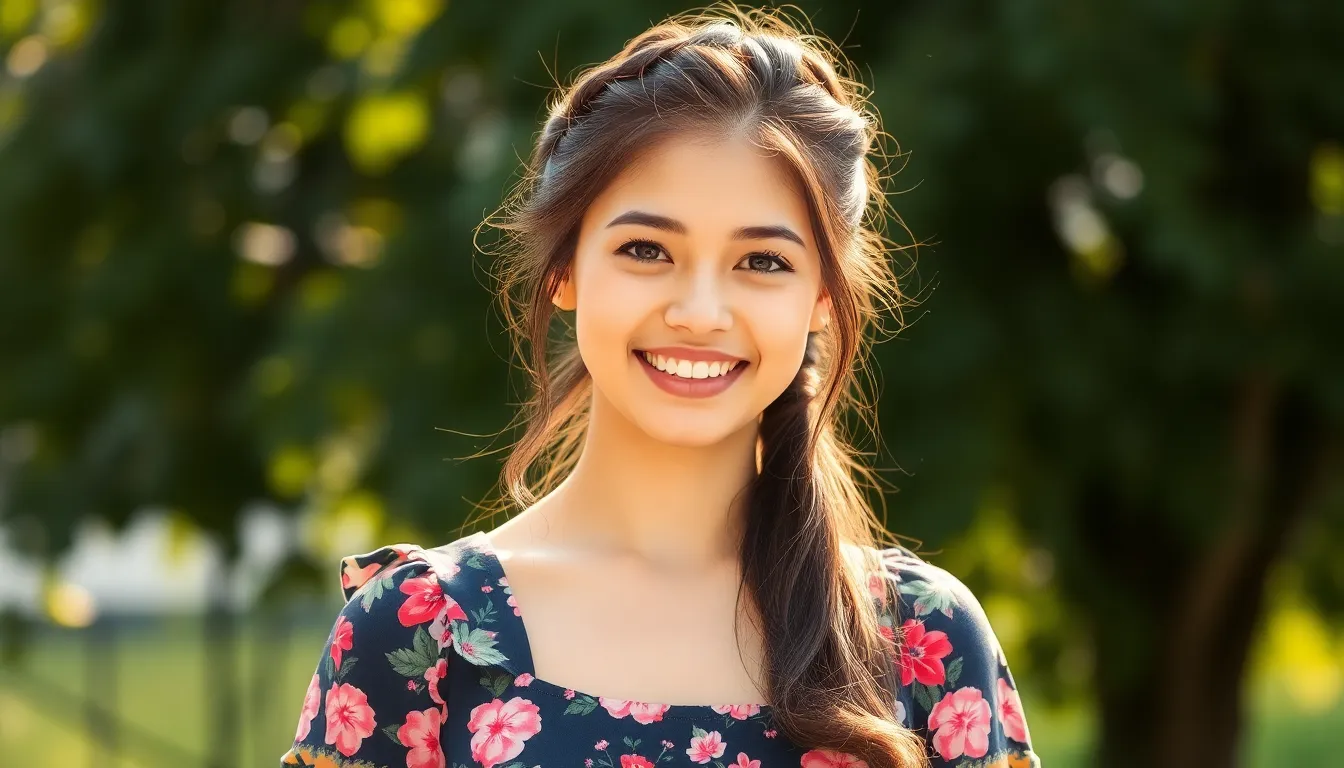
This romantic hairstyle offers the perfect balance between polished and relaxed, making it ideal for both workplace meetings and weekend brunches. We’ll show you how to achieve this versatile look using simple techniques that work beautifully with medium length hair.
Simple Twist Back Method
Starting from the temples, gather small sections of hair from each side of your head. Twist these sections away from your face while moving toward the back of your head. Pull the twisted sections together at the crown and secure them with a clear elastic band. Gently tug at the twisted sections to create volume and texture. This method takes less than three minutes and creates an effortlessly chic foundation for your half up style.
Securing With Bobby Pins
Bobby pins become your best friend when perfecting this twisted hairstyle. Slide pins horizontally under the twisted sections to hide them completely from view. Cross two bobby pins in an X pattern for extra security when dealing with slippery or fine hair. Choose pins that match your hair color for a seamless blend. Push pins all the way into the twist until only the curved end shows. We recommend using at least four bobby pins to ensure your style stays put throughout the day.
Variations With Braids
Transform your basic twisted half up style by incorporating different braid techniques. Dutch braids work exceptionally well by starting at your temples and braiding toward the back of your head. Add a lace braid element by picking up small sections of hair as you braid along your hairline. Create a half up braid by gathering the top section of your hair and braiding it before securing with an elastic. Fishtail braids offer another stunning variation that adds intricate texture to your twisted style. Each braiding technique can be loosened and pulled apart slightly to create a fuller, more romantic appearance.
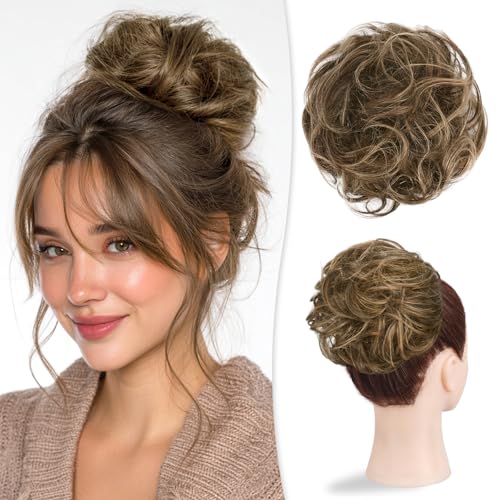
Messy Bun With Loose Strands
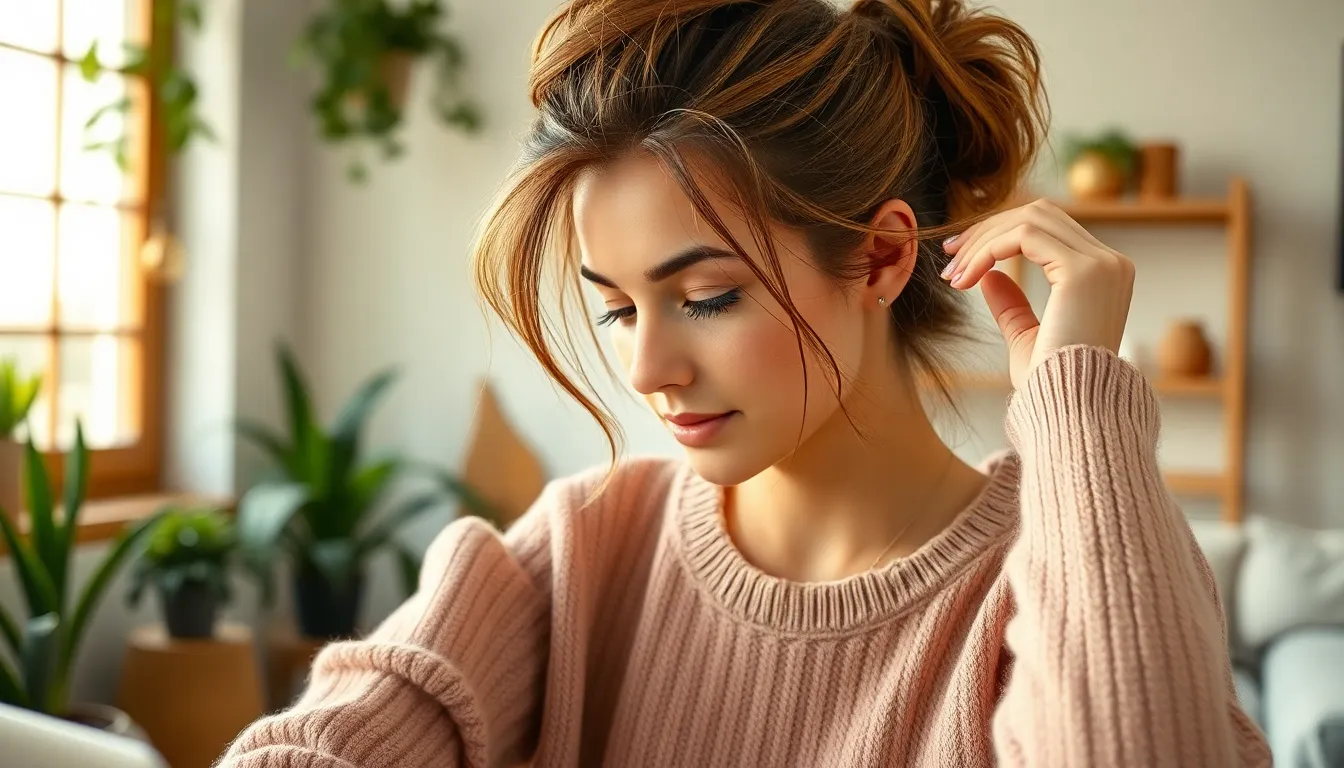
Our go-to messy bun combines effortless elegance with that perfectly undone aesthetic that’s both chic and approachable. This versatile style works beautifully for everything from coffee dates to office presentations.
Creating Volume at the Crown
Boost your hair’s natural body by using a round brush while blow-drying to lift roots away from your scalp. Apply volumizing spray or mousse before styling to create lasting lift that won’t fall flat throughout the day.
Tease the hair gently at the crown using your fingertips for added height and texture. This technique creates the foundation you need for a fuller-looking messy bun that appears effortlessly voluminous.
Work the product through damp hair from roots to mid-lengths, focusing on areas where you want maximum lift. The key is building volume before you even begin gathering your hair into the bun.
Pinning Technique for Natural Look
Secure stray hairs and finish your messy bun using bobby pins strategically placed throughout the style. Hide pins from view by sliding them into the bun’s base and crossing them for maximum hold.
Choose clear or hair-colored pins that blend seamlessly with your natural color for an invisible finish. This creates a polished look without obvious hardware showing through your carefully crafted messiness.
Insert pins at angles that follow your hair’s natural growth pattern rather than straight across. This technique ensures your bun stays put while maintaining that effortless, lived-in appearance we’re after.
Styling Face-Framing Pieces
Smooth your face-framing strands with a small amount of hair serum or lightweight oil to define and control flyaways. These pieces should look intentional rather than accidentally escaped from your bun.
Frame your features by letting select strands fall naturally around your face, adding elegance to your medium-length messy bun. Use a flat iron for sleeker framing pieces or leave them with natural texture for a more relaxed vibe.
Position these loose strands to complement your face shape, pulling out pieces that enhance your best features. The goal is creating a soft, romantic frame that balances the structured messiness of your bun.
Side-Swept Waves With Deep Part
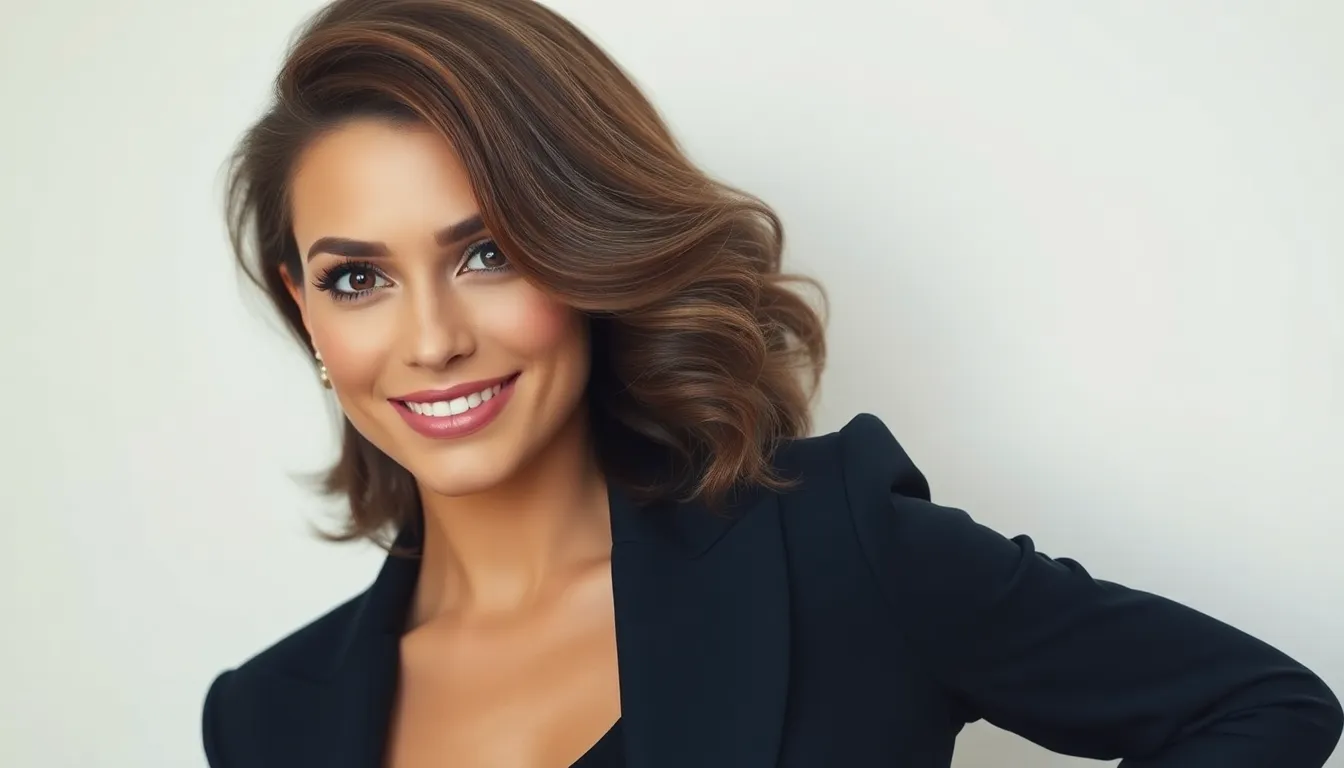
This elegant style creates a glamorous, red-carpet-worthy look that’s surprisingly simple to achieve. We’ll show you how to master this sophisticated hairstyle using basic heat tools and styling products.
Using Heat Tools for Loose Waves
Start by applying a heat protectant throughout your hair to prevent damage from styling tools. Use a curling iron or flat iron to create loose waves by curling sections away from your face for the most flattering effect. Gently brush out the curls once they’ve cooled to create that relaxed, effortless wave pattern that looks naturally gorgeous.
Work with 2-inch sections of hair for the most even heat distribution and consistent wave formation. Wrap each section around your curling iron for 8-10 seconds, then release and allow the curl to cool in your palm before letting it fall. Keep your iron temperature between 300-350°F to avoid heat damage while still achieving long-lasting waves.
Creating the Perfect Side Part
Use a rat-tail comb to create a deep side part that enhances the dramatic side-swept effect. Position the part about 2 inches from your natural hairline on one side for the most flattering proportions. This deep part allows more hair to cascade over one shoulder, creating that coveted asymmetrical silhouette.
Draw the part from your front hairline straight back to your crown area, ensuring it’s clean and precise. Smooth down any flyaways along the part line with a small amount of hair serum or pomade. We recommend parting on the side opposite to your natural cowlick for better hold and a smoother finish.
Finishing With Texturizing Spray
Apply texturizing spray throughout your waves, focusing especially on the roots to add volume and body. This product creates the perfect amount of grip and texture that helps your waves hold their shape throughout the day. Scrunch the spray into your hair with your hands to enhance the natural wave pattern and create additional movement.
Hold the spray bottle 6-8 inches away from your hair and mist evenly from roots to ends. Flip your head upside down and spray the underside of your hair for extra volume at the crown. Finish with a light misting of flexible hold hairspray to lock in your style without creating stiffness or crunch.
French Braid Crown Into Low Bun
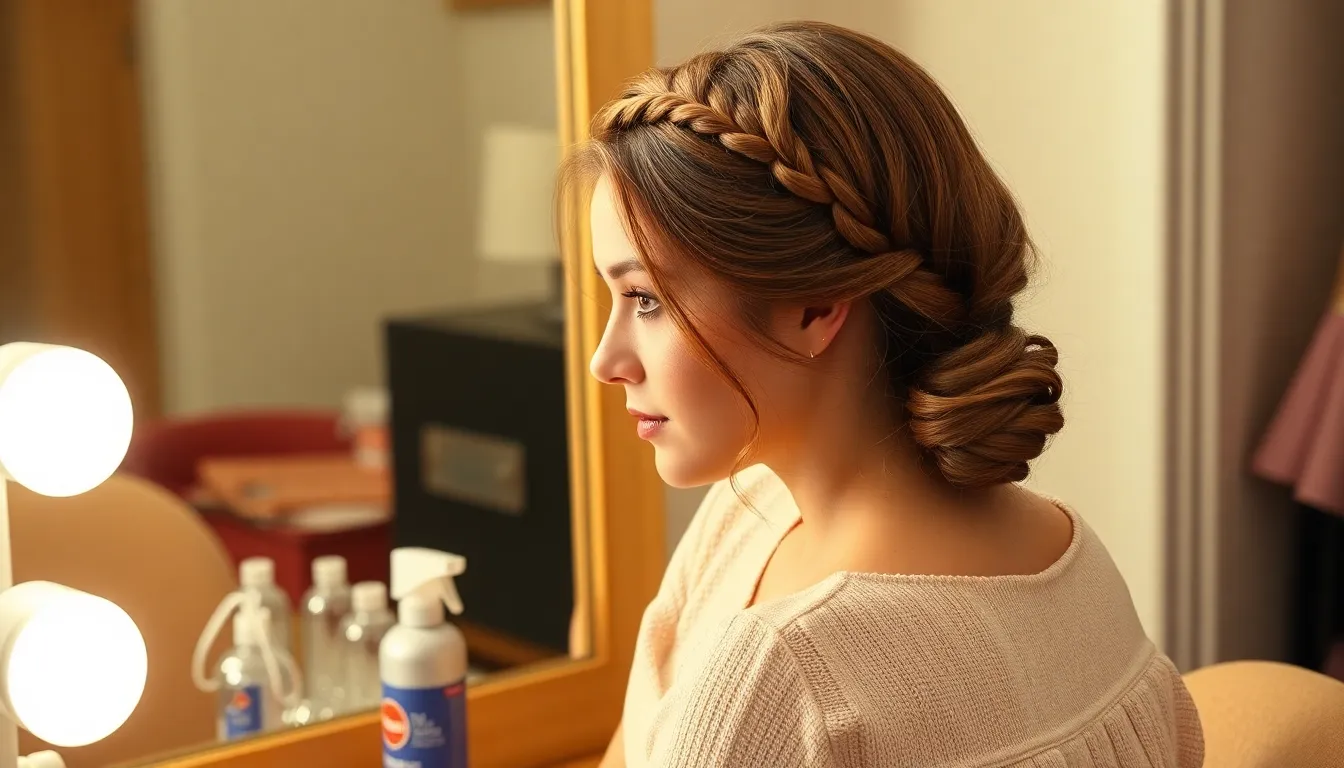
This sophisticated braided updo combines the elegance of a French braid with the timeless appeal of a low bun. We’ll show you how to master this versatile style that’s perfect for weddings, work presentations, or any occasion where you want to look polished yet approachable.
Starting the French Braid Technique
Begin by taking a small section of hair from the crown and divide it into three equal parts. Cross the right strand over the middle section first, then bring the left strand over the new middle piece to establish your braiding pattern. Add more hair to each side strand as you continue braiding along your hairline, incorporating small sections with each crossover motion.
Work your way around the crown area by picking up additional hair from both sides as you braid. Keep your hands close to your scalp to maintain tension and create a neat, defined braid crown. Practice this technique a few times to build muscle memory, as the motion becomes more natural with repetition.
Transitioning to a Low Bun
Secure the French braid with a small, clear elastic band once you reach the back of your head near the nape. Gather all remaining loose hair along with the completed braid into your hands at the base of your neck. Twist the combined hair gently to create a rope-like texture that adds visual interest to your bun.
Create the bun by wrapping the twisted hair around the elastic band base in a clockwise motion. Tuck the ends of your hair under the bun to hide any loose pieces and create a clean, finished appearance.
Securing the Style
Insert bobby pins at strategic angles around the bun to lock everything in place securely. Choose pins that match your hair color for a seamless blend, and angle them toward the center of the bun for maximum hold. Focus on pinning any loose strands or pieces that might fall throughout the day.
Finish with a light mist of flexible hold hairspray to tame flyaways and add shine to your completed style. Test the security of your bun by gently shaking your head – if any sections feel loose, add additional bobby pins for reinforcement.
Sleek Straight Hair With Middle Part
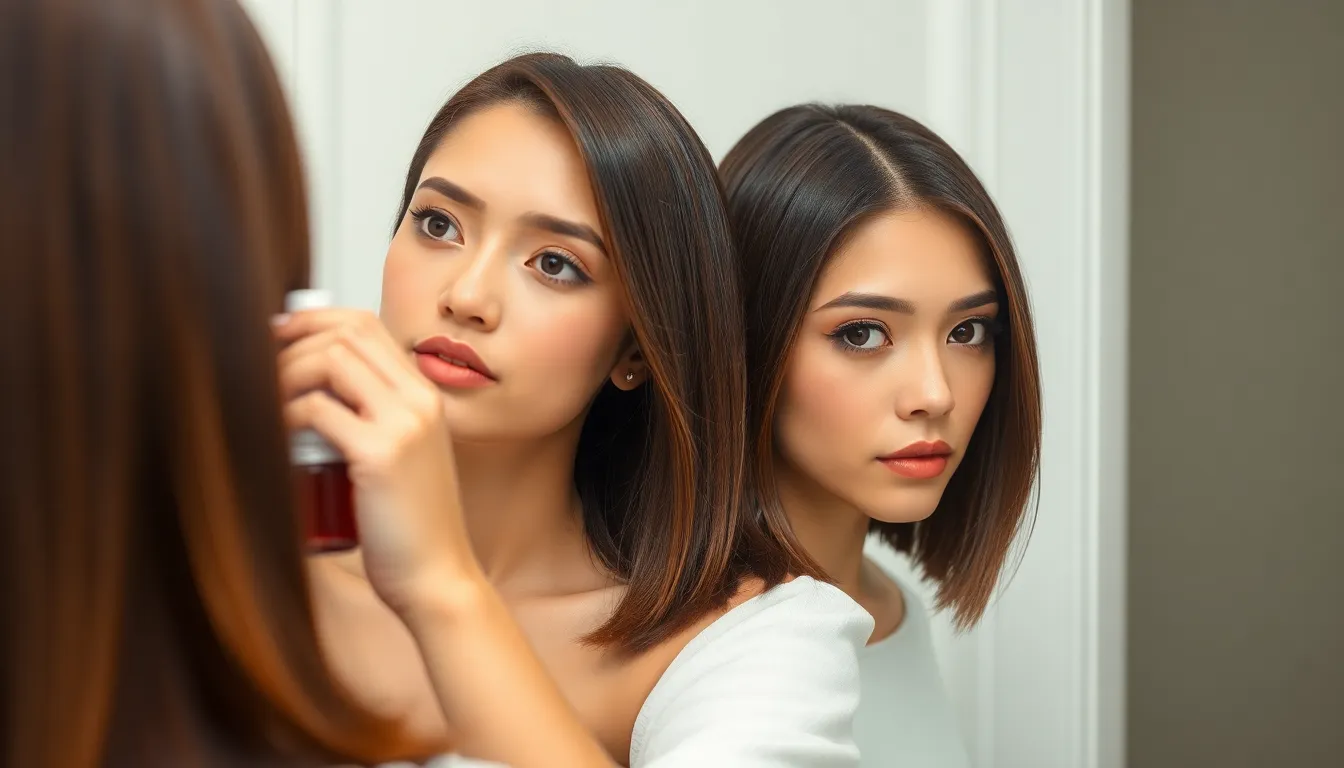
Nothing beats the timeless appeal of sleek straight hair with a middle part for creating an instantly polished look. This classic style works beautifully with medium length hair and gives you that effortless sophistication we all crave.
Heat Protection and Straightening Tips
Protecting your hair from heat damage starts with the right products applied at the right time. We recommend using a high-quality heat protectant spray throughout your hair before reaching for any hot tools. Apply the product evenly from mid-length to ends, focusing on areas that tend to be more porous or damaged.
Setting your flat iron to the correct temperature prevents unnecessary damage while still achieving sleek results. Medium length hair typically responds well to temperatures between 300-350°F, though fine hair should stay closer to 300°F and thicker hair can handle up to 350°F. Work in small sections about an inch wide to ensure each strand gets properly straightened.
Moving the flat iron smoothly and consistently creates the sleekest finish without causing heat spots. Start each section at the roots and glide the iron down to the ends in one fluid motion. Avoid stopping or pausing mid-strand, as this can create unwanted creases or damage.
Achieving the Perfect Middle Part
Creating a precise middle part requires the right tool and technique for lasting symmetry. We suggest using a rat-tail comb or fine-tooth comb to draw a straight line from your forehead to the crown of your head. The key is to work slowly and check your progress in the mirror as you go.
Starting your part at the center of your eyebrows helps ensure proper alignment with your facial features. Place the comb tip at this central point and draw it straight back through your hair, following the natural curve of your head. This method creates a more flattering and balanced appearance.
Securing your newly created part helps it stay in place throughout styling and beyond. Lightly mist each side with water or setting spray before beginning the straightening process. This prevents the hair from naturally falling back to its previous part line.
Adding Shine and Smoothness
Applying a lightweight hair serum after straightening locks in that mirror-like finish we’re after. Focus on the mid-lengths and ends of your hair, avoiding the roots to prevent any greasy appearance. A small amount goes a long way, so start with just a few drops and add more if needed.
Choosing the right finishing products can make the difference between good and salon-quality results. Look for serums containing silicones like dimethicone or cyclomethicone, which create a protective barrier and enhance shine without weighing down medium length hair. These ingredients also help control frizz and flyaways.
Finishing with a light mist of shine spray adds that final touch of glamour to your sleek style. Hold the spray about 8-10 inches away from your head and mist lightly over the entire style. This final step helps your straight hair catch and reflect light beautifully, giving you that red carpet worthy finish.
Beachy Waves With Sea Salt Spray

Achieving that effortless, just-left-the-beach texture doesn’t require a trip to the ocean. We’ll show you how to create beautiful beachy waves using simple techniques that work perfectly with medium length hair.
No-Heat Wave Techniques
Braid and release creates the most natural looking waves without any heat damage. Start with damp hair and create one or two loose braids before bed, then gently release them in the morning for soft, flowing waves.
Twist and pin offers another damage-free approach that takes just minutes to set up. Divide your damp hair into 4-6 sections, twist each section tightly, then secure with bobby pins until your hair dries completely.
Rag rolling using a microfiber cloth or old t-shirt produces defined spiral waves with incredible bounce. Cut fabric into 6-8 strips, wrap small sections of damp hair around each strip, then tie the ends to secure overnight.
Using Sea Salt Spray Effectively
Apply to damp hair for maximum texture enhancement and wave formation. Spray evenly from mid-length to ends, avoiding the roots to prevent weighing down your hair.
Enhance natural texture by working the product through with your fingers after application. Focus on areas where your hair naturally wants to wave or curl for the most authentic beachy look.
Set with light hold hairspray once your waves are completely dry and styled. This finishing step locks in the texture without making your hair feel stiff or crunchy.
Scrunching for Natural Texture
Gentle scrunching motions while your hair air dries help activate the sea salt spray and encourage wave formation. Cup sections of hair in your palms and squeeze upward toward your scalp.
Enhance texture by combining scrunching with your sea salt spray application for maximum wave definition. Work in small sections to ensure even distribution and consistent texture throughout.
Use a diffuser attachment on low heat if you need to speed up the drying process while maintaining your scrunched texture. Keep the diffuser moving to prevent frizz and maintain the natural wave pattern.
Simple Side Braid With Loose Ends
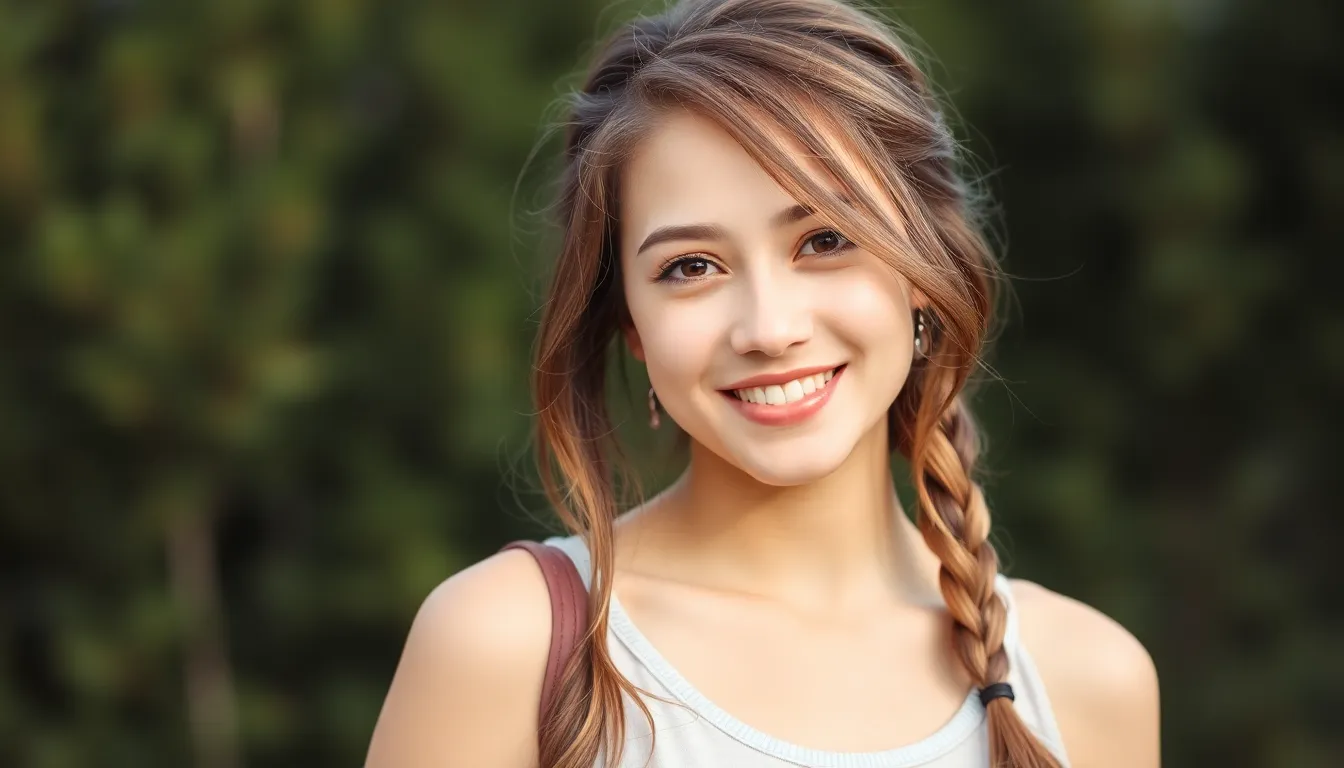
This effortless style combines the classic appeal of braiding with modern, undone texture that’s perfect for medium length hair. We’ll show you how to master this versatile look that works beautifully for both casual outings and relaxed professional settings.
Basic Three-Strand Braid Method
Start by brushing your hair thoroughly to remove any tangles and create a smooth foundation for braiding. Part your hair to one side, positioning it near your shoulder to achieve that signature side braid placement.
Gather all your hair to one side and divide it into three equal sections using your fingers. Cross the right section over the middle strand, then bring the left section over what’s now become the new middle piece.
Continue this alternating pattern by moving sections over the center strand consistently, working your way down toward the ends of your hair. Secure the finished braid with a small elastic band, leaving approximately 2-3 inches of loose hair below the tie for that modern, relaxed finish.
Loosening for Casual Look
Gently pull at the outer loops of your completed braid using your fingertips to create width and soften the overall appearance. This technique, known as “pancaking,” transforms a tight braid into something more effortless and romantic.
Tug lightly along the entire length of the braid from top to bottom, working systematically to maintain balance throughout the style. Avoid using excessive force during this process to prevent the braid from completely unraveling.
Apply a lightweight texturizing spray to add grip and hold to your loosened braid, ensuring it maintains its shape throughout the day while preserving that casual, undone aesthetic.
Styling the Remaining Length
Leave the ends of your hair completely loose below the elastic band to achieve that modern, intentionally unfinished look that’s currently trending. This contrast between the structured braid and free-flowing ends creates visual interest and movement.
Adjust the looseness of your braid and arrange the bottom layers to create balance between the braided and loose sections. The key is making sure the transition feels natural rather than abrupt.
Enhance the overall texture by applying a small amount of hair serum to the loose ends, which adds shine and prevents frizz while maintaining the effortless vibe. This finishing touch ensures your simple side braid looks polished yet relaxed, making it suitable for everything from weekend errands to casual workplace environments.
Twisted Headband Style
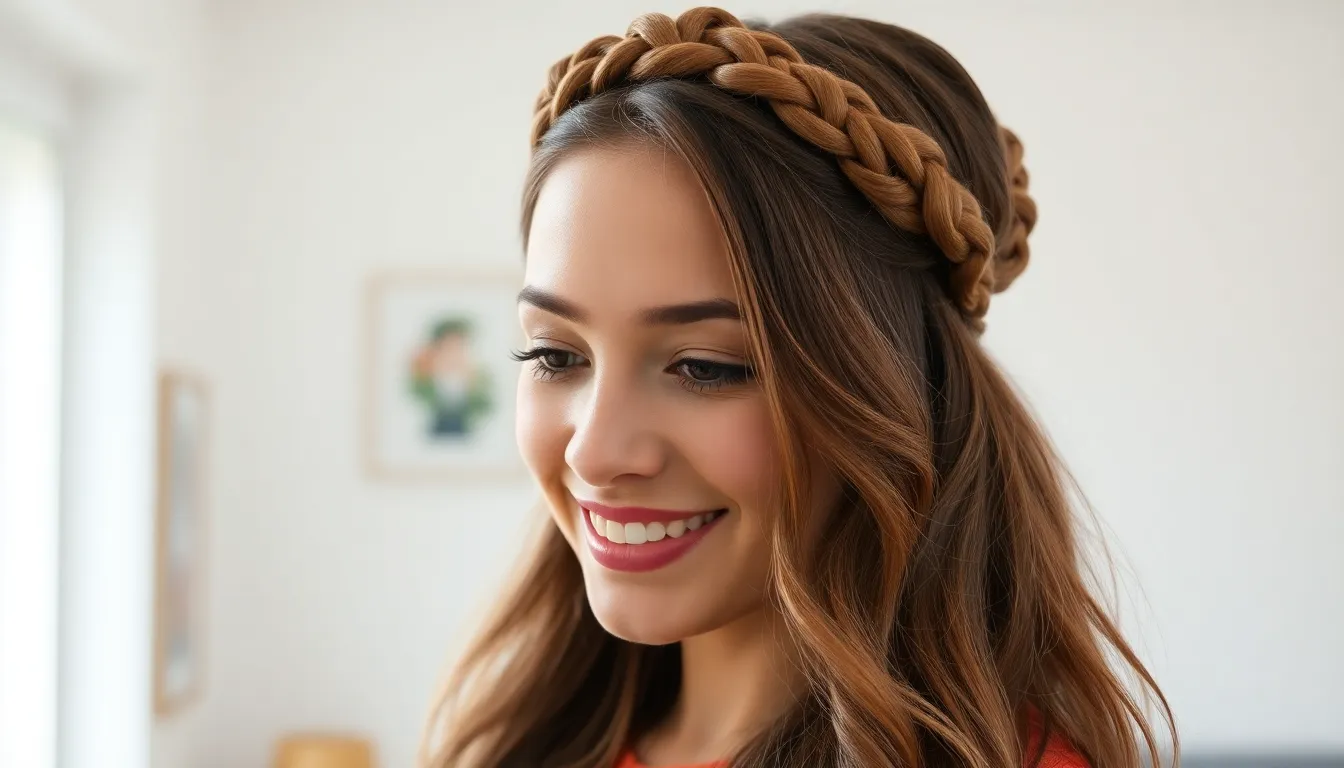
This elegant twisted headband creates a polished look that frames your face beautifully while keeping hair out of your eyes. We’ll show you how to master this versatile style that works perfectly for both casual days and special occasions.
Creating Twists From Both Sides
Start by selecting a small section of hair from the front hairline on one side of your head. Twist this section away from your face in a smooth, continuous motion to create definition and structure. Move to the opposite side and grab a similar-sized section of hair from your front hairline. Twist this second section away from your face as well, ensuring both twists mirror each other in size and tightness.
Keep the twists loose enough to look natural but tight enough to hold their shape throughout the day. We recommend starting with slightly damp hair for better grip and longevity. Practice the twisting motion a few times to find the right tension that feels comfortable and looks polished.
Meeting and Securing at the Back
Bring both twisted sections toward the back of your head, positioning them at about ear level for the most flattering placement. Cross the twists over each other to create the headband effect that gives this style its signature look. Secure the twisted sections together using a small clear elastic band or bobby pins that match your hair color.
Pin the twists underneath the meeting point to hide any visible securing materials and maintain a seamless appearance. We suggest using at least two bobby pins in an X pattern for maximum hold. Test the security by gently tugging on the twists to ensure they’ll stay in place during your daily activities.
Leaving Hair Down for Contrast
Allow the remaining length of your medium hair to fall naturally for a soft, romantic contrast to the structured twisted sections. This creates visual interest and prevents the style from looking too formal or tight. We recommend adding subtle waves or curls to the loose hair for extra texture and movement.
Apply a lightweight texturizing spray to enhance the natural body of your hair and create that effortless, lived-in look. Avoid heavy products that might weigh down your medium-length hair and compromise the overall balance of the style. Finish with a light mist of flexible-hold hairspray to maintain the twisted sections while keeping the loose hair touchably soft.
Voluminous Blowout With Round Brush
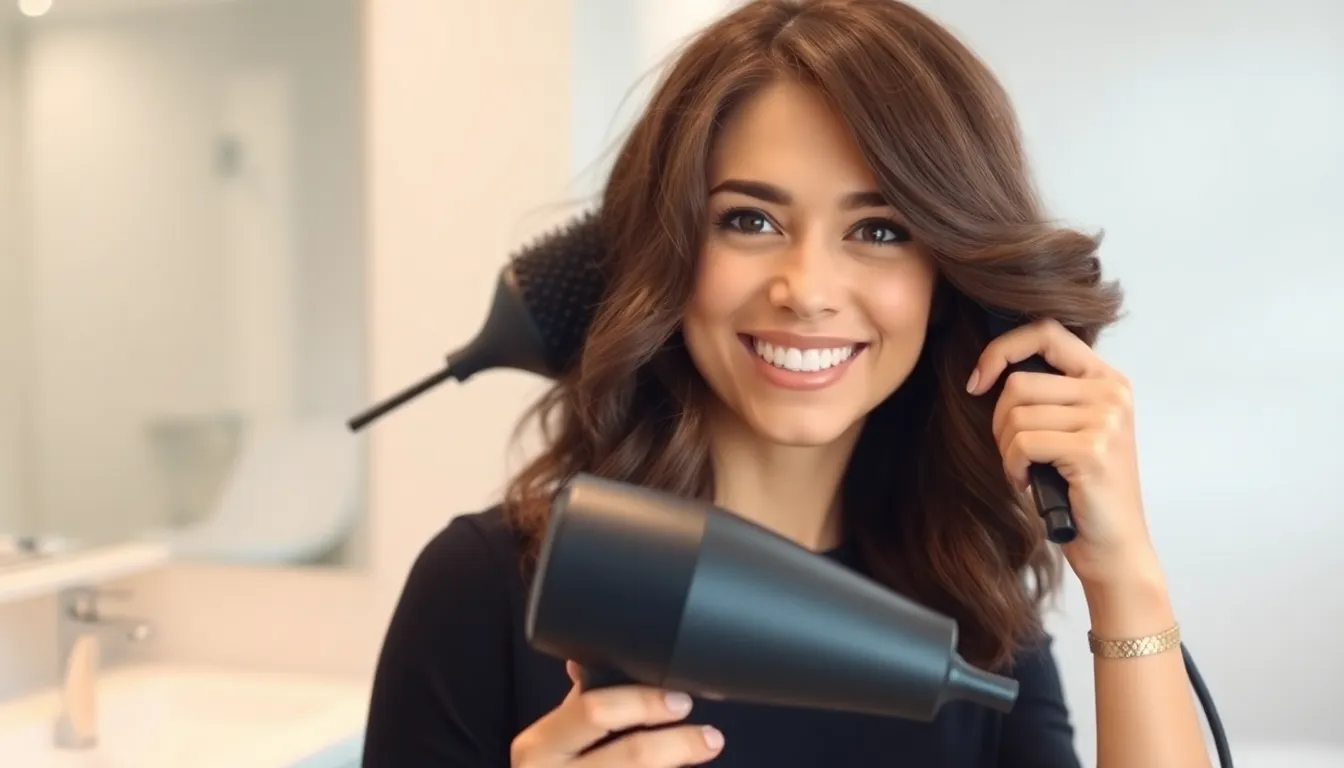
We’re moving into salon-worthy territory with this classic technique that transforms medium length hair into a full-bodied masterpiece. This professional styling method delivers impressive volume and smoothness that lasts throughout the day.
Sectioning Hair for Best Results
Dividing your hair strategically creates the foundation for an even, voluminous blowout. We recommend starting with slightly damp hair and creating horizontal sections from ear to ear, working your way up from the nape of your neck. Clips become your best friend here, keeping upper sections out of the way while you focus on each layer individually.
Starting with the bottom section allows heat to distribute evenly and prevents upper layers from getting tangled in the brush. We find that sections about two inches wide work perfectly for medium length hair, giving you enough control without overwhelming your styling abilities. Smaller sections take longer but deliver more precise results, while larger sections speed up the process but may sacrifice some volume potential.
Round Brush Technique
Rolling the brush under each section while following it with your blow dryer creates the lifting action that generates impressive volume. We position the round brush at the roots first, then gently pull it through to the ends while directing hot air from above. This technique requires coordination between both hands but becomes second nature with practice.
Tension plays a crucial role in achieving smooth results without causing breakage or tangles. We maintain gentle yet firm pressure on the brush, ensuring it glides through each section without pulling or tugging on the hair shaft. Starting from the roots and moving down to the ends helps achieve volume and smoothness throughout the entire length.
Different brush sizes create varying levels of curl and volume, with larger barrels producing looser waves and more volume at the roots. We typically recommend a medium barrel brush for medium length hair, as it provides the perfect balance between lift and manageability.
Setting the Style With Cool Air
Cool air becomes the secret weapon for locking in your newly created volume and ensuring your blowout lasts longer. We switch the blow dryer to its cool setting immediately after completing each section, directing the airflow over the hair while it’s still wrapped around the brush. This temperature change helps seal the hair cuticle and set the style in place.
Holding each section for about 10 to 15 seconds with cool air maximizes the setting effect and creates lasting volume. We find that this extra step makes the difference between a blowout that falls flat within hours and one that maintains its shape all day long. The cool air also adds incredible shine by smoothing down the hair cuticle, giving you that coveted salon finish.
Professional stylists swear by this cooling technique because it helps prevent heat damage while improving style longevity. We recommend using this method on every section, even though it adds a few extra minutes to your routine, because the results speak for themselves.
Conclusion
We’ve explored ten versatile hairstyles that prove medium-length hair offers endless styling possibilities. From the effortless low ponytail to the sophisticated French braid crown these looks can transform your appearance in just minutes.
Each technique we’ve shared requires minimal tools and can be mastered with practice. Whether you’re heading to work or preparing for a special occasion there’s a style that’ll suit your needs perfectly.
Remember that the key to great hair lies in using quality products and taking time to protect your strands from heat damage. With these easy techniques in your styling arsenal you’ll never run out of fresh ways to wear your medium-length hair.
Frequently Asked Questions
What makes medium-length hair ideal for styling?
Medium-length hair offers the perfect balance between manageability and versatility. It’s long enough to create various elegant styles like braids, buns, and waves, yet short enough to style quickly without professional help. This length works well for busy individuals who want sophisticated looks that can transition from casual to professional settings effortlessly.
How long does it take to create these hairstyles?
Most of the hairstyles mentioned can be completed in under 5 minutes, with some taking as little as 3 minutes. The half-up half-down twisted style and simple side braid are particularly quick options. Even more elaborate styles like the French braid crown can be mastered with practice for efficient styling.
What essential tools do I need for these hairstyles?
Basic tools include bobby pins, hair elastics, a rat-tail comb, and a round brush. For heat styling, you’ll need a flat iron or curling iron with heat protectant spray. Accessories like silk scrunchies, hair scarves, and texturizing sprays can enhance your looks and add professional finishing touches.
Can these styles work for both casual and professional settings?
Yes, most of these hairstyles are designed to be versatile. The low ponytail, sleek straight hair with middle part, and French braid crown work excellently in professional environments. Meanwhile, beachy waves, messy buns, and side braids are perfect for casual outings while still looking polished and put-together.
How can I make my hairstyles last longer?
Use quality hair products like heat protectants, texturizing sprays, and lightweight serums. Secure styles properly with bobby pins that match your hair color, and finish with hairspray for hold. For heat-styled looks, use cool air to set the style, and choose the appropriate temperature settings for your hair type.
What’s the best way to add volume to medium-length hair?
Create volume by using a round brush during blow-drying, applying volumizing products to damp hair, and using teasing techniques at the crown. The voluminous blowout technique with proper sectioning and cool air finishing provides lasting volume. Texturizing sprays also help add body and fullness to any style.
Are there heat-free options for styling medium-length hair?
Absolutely! Try no-heat techniques like braid and release, twist and pin methods, or rag rolling for natural waves. The twisted headband style and simple braids require no heat tools. Sea salt spray can enhance texture without heat damage, and air-drying with scrunching techniques creates beautiful beachy waves.
How do I choose the right hairstyle for my face shape?
Consider face-framing elements when selecting styles. Side-swept waves with deep parts create asymmetrical silhouettes that flatter most face shapes. Loose strands around the face in messy buns soften angular features. The key is positioning elements to complement your natural features and create balance.








![[MULTI PACKS DEAL] Spetra Platinum Blonde Pre Stretched Braiding Hair](https://m.media-amazon.com/images/I/41Qeqx7VT4L._SL500_.jpg)


