Braids never go out of style – they’re timeless versatile and perfect for any occasion. Whether you’re heading to work attending a special event or just want to switch up your everyday look we’ve got the perfect braid inspiration for you.
From classic three-strand braids to intricate fishtails and trendy Dutch braids there’s a style that’ll complement your hair type and skill level. We’ve curated the most stunning braid ideas that range from beginner-friendly to advanced techniques so you can find your next signature look.
Ready to transform your hair game? These creative braiding styles will help you achieve salon-worthy results right at home. Let’s jump into the industry of beautiful braids that’ll have everyone asking for your styling secrets.
Classic Three-Strand Braid Variations
Building on our foundation of versatile braiding techniques, we’ll explore the most fundamental yet elegant styling options. These timeless variations form the backbone of countless hairstyles and serve as perfect starting points for beginners.
Basic Three-Strand Braid
Start with clean, detangled hair to achieve the smoothest results. We recommend applying a light styling cream or leave-in conditioner to tame flyaways and add grip. Divide your hair into three equal sections at the nape of your neck, holding the left section in your left hand and the right section in your right hand.
Cross the right section over the middle section, making it the new center strand. The original middle section now becomes your right section. Next, cross the left section over the new middle section, creating a continuous weaving pattern. Continue this alternating motion, always crossing outer sections over the center.
Maintain consistent tension throughout the braiding process for even, polished results. We suggest practicing this technique on wet hair first, as it’s easier to manage and creates cleaner sections. Secure the end with a clear elastic band positioned about one inch from your hair ends.
Perfect this foundational technique before advancing to more complex styles. The basic three-strand braid typically takes 2-3 minutes to complete once you’ve mastered the hand movements. This versatile style works beautifully for casual outings, gym sessions, or as a base for more elaborate updos.
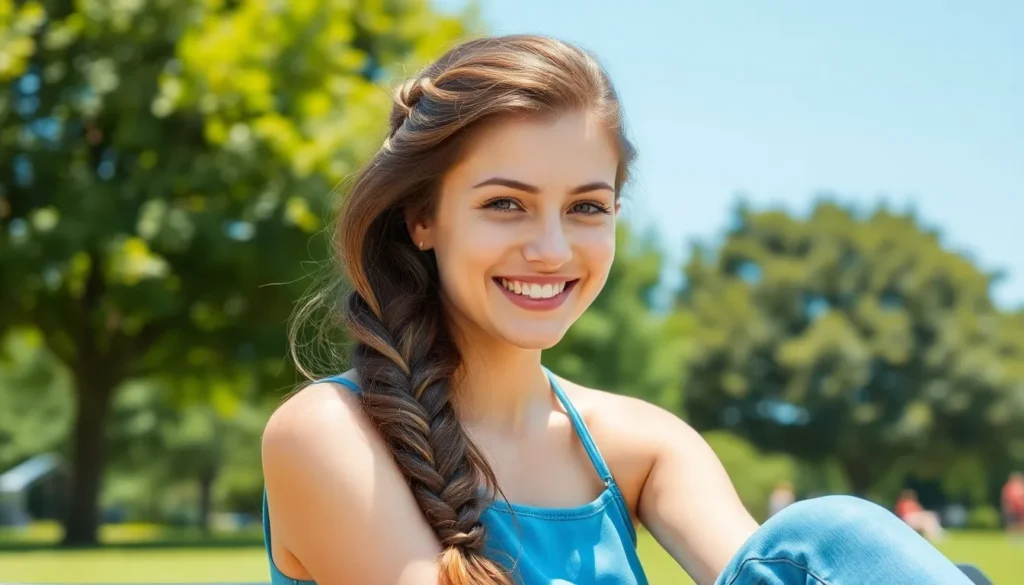
Side-Swept Three-Strand Braid
Create a deep side part using a rat-tail comb for maximum impact. We position the part approximately two inches from the center, allowing more hair to fall on one side. Gather all your hair to the lower side, creating an asymmetrical foundation that adds visual interest and romantic appeal.
Begin braiding at the ear level on your preferred side for optimal placement. This positioning prevents the braid from sitting too high on your head while maintaining the side-swept aesthetic. Follow the same three-strand technique, but angle the braid slightly forward to enhance the swept appearance.
Gently tug at the outer edges of each section to create volume and texture. We call this “pancaking” the braid, and it transforms a simple side braid into a fuller, more dimensional style. Start from the top and work your way down, pulling gently to avoid loosening the entire structure.
Secure the braid with bobby pins behind the opposite ear for an elegant finish. This creates a beautiful wraparound effect that’s perfect for date nights, weddings, or professional settings. The side-swept variation typically takes 4-5 minutes to complete and works exceptionally well on medium to long hair lengths.
High Ponytail Three-Strand Braid
Gather your hair into a high ponytail at the crown of your head using a brush for smoothness. We recommend positioning the ponytail 2-3 inches above your ears to achieve the most flattering height. Secure tightly with a strong elastic, then wrap a small section of hair around the base to hide the band.
Begin the three-strand braiding process directly below the ponytail elastic. This elevated starting point creates length and draws attention upward, making it an excellent choice for athletic activities or summer styling. The high placement also prevents the braid from hitting your back during movement.
Incorporate texturizing spray before braiding to add grip and hold. We find this particularly helpful for fine or slippery hair types that tend to lose their shape throughout the day. The spray also adds subtle volume that makes the finished braid appear fuller and more substantial.
Complete the braid using slightly looser tension for a more relaxed, bohemian vibe. This high ponytail variation typically takes 3-4 minutes to execute and stays secure for 8-10 hours with proper preparation. We love this style for festivals, beach days, or any occasion where you want your hair completely off your face while maintaining visual interest.
French Braid Hairstyle Inspirations
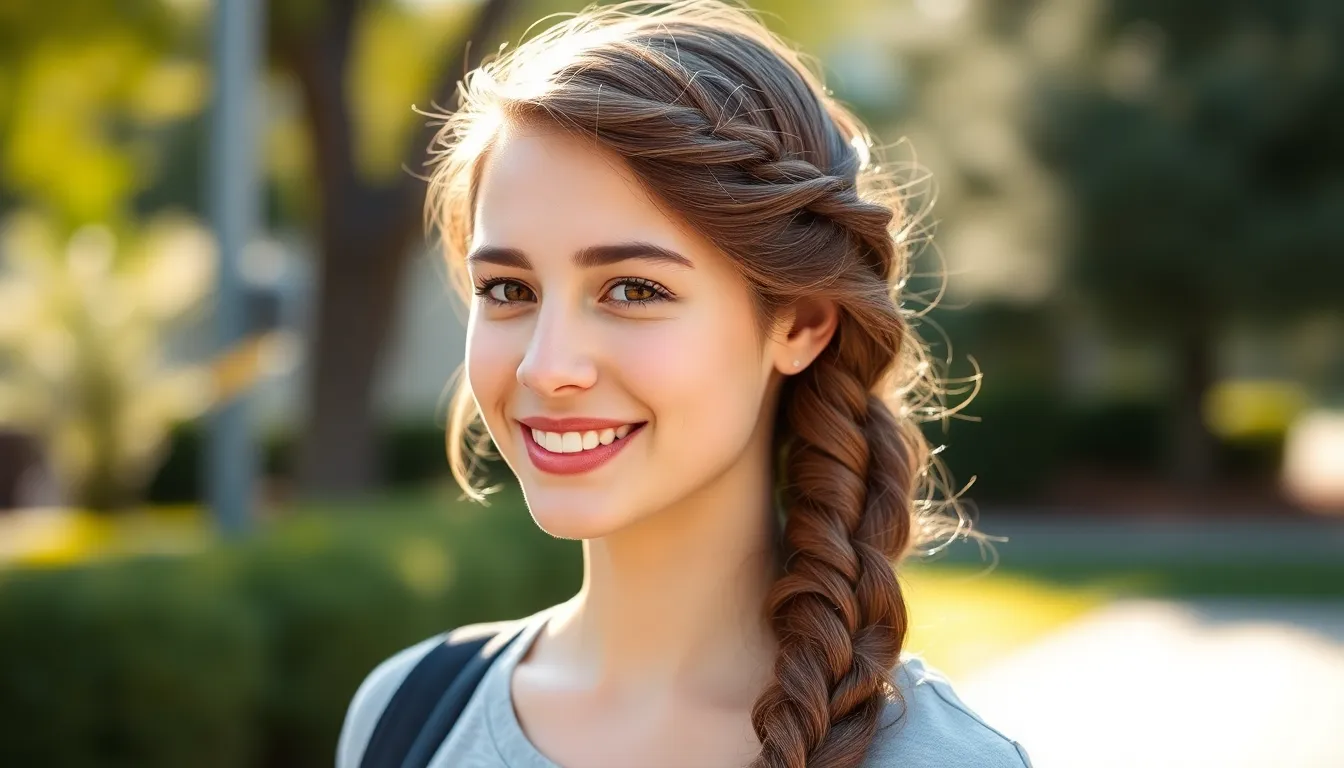
French braids bring sophistication and elegance to any look while offering versatility for both casual and formal occasions. We’ll explore three stunning French braid variations that showcase different techniques and styling possibilities.
Traditional French Braid
Classic French braids create the foundation for mastering more complex braiding techniques. We start by dividing a small front section of hair into three equal strands near the forehead. The braiding process involves crossing the outer strands over the middle one while gradually incorporating additional hair from both sides as we work down the head.
This technique produces a neat woven effect that lies flat against the scalp and looks polished from every angle. Managing the tightness becomes crucial, especially around the neck area where maintaining control over all sections requires practice. Consistent section sizes and smooth hair additions yield the cleanest results, while pulling the braid tighter at the neck prevents looseness at the end.
Time to complete: 5-7 minutes once you’ve mastered the technique
Side French Braid
Side French braids offer an elegant asymmetrical alternative to the traditional straight-down approach. We begin this variation near the forehead and braid diagonally toward the nape of the neck or side, creating a sophisticated look that works for both casual and polished occasions.
Starting the braid from one side of the head rather than the center adds visual interest and frames the face beautifully. Maintaining even tension throughout the diagonal braiding process ensures a smooth, professional appearance. The asymmetrical placement makes this style particularly flattering for various face shapes and hair lengths.
Time to complete: 6-8 minutes depending on hair length
Double French Braids
Double French Braids involve creating two separate French braids starting from either side of the head for a symmetrical, sporty look. We divide the hair down the middle and braid each section independently, often keeping them tight for athletic activities or loosening them by gently pulling the braid edges to add volume and texture.
This style excels at keeping hair neatly contained throughout active days while maintaining an attractive appearance. The symmetrical braids can be worn sleek and tight for a polished finish or loosened slightly for a more relaxed, textured effect. Popular among athletes and busy professionals, double French braids offer both functionality and style.
Creative enhancement tip: Adding ribbons or colorful hair extensions intertwined with the braids creates decorative touches, while combining French braids with waves produces unique braided-wave hybrid hairstyles.
Dutch Braid Creative Styles
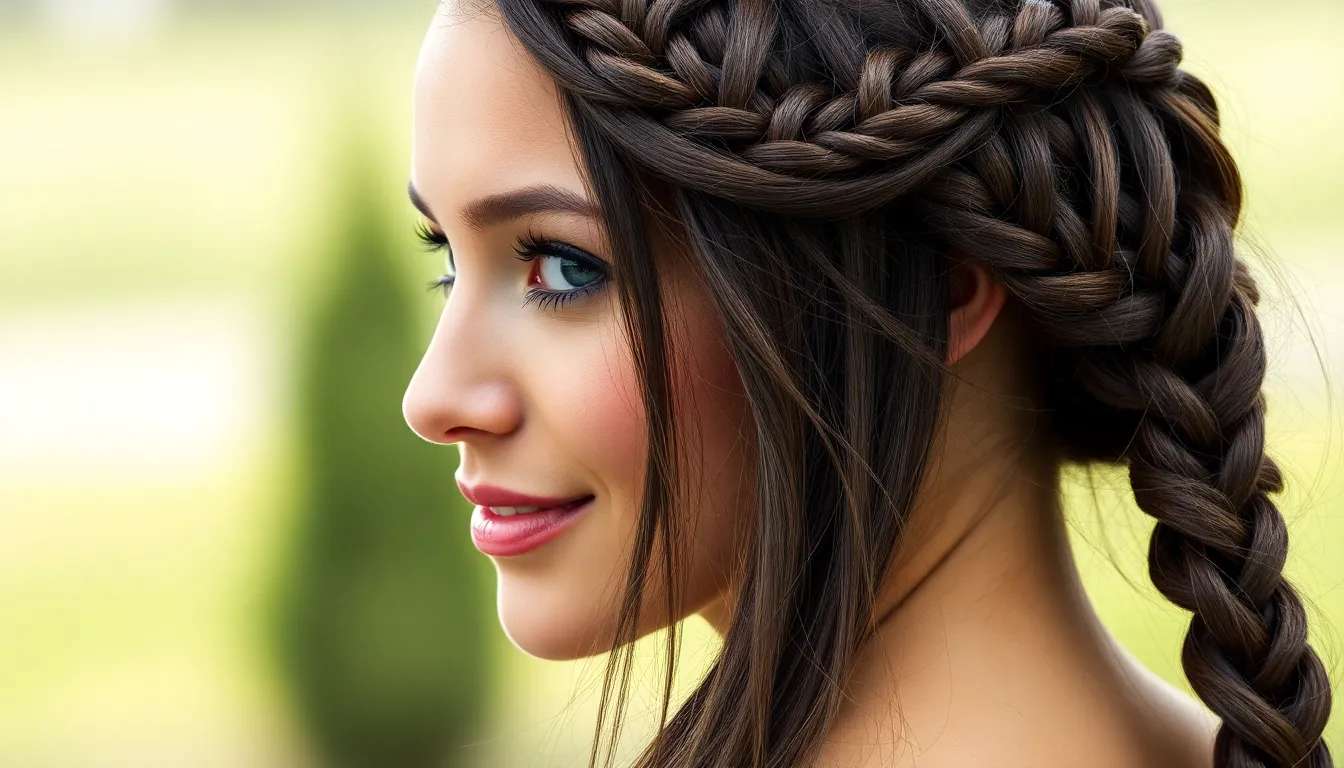
Dutch braids offer a stunning three-dimensional effect that sits beautifully on top of your head, making them perfect for adding volume and visual interest to any look.
Single Dutch Braid Down the Back
Creating a single Dutch braid down the back starts with brushing your hair to remove all tangles. We section a portion at the front and split it into three equal strands. The key technique involves crossing the side strands under the middle strand rather than over, which creates the signature raised effect.
Adding small sections from each side as we continue braiding ensures all loose hair gets incorporated into the design. This method creates a braid that sits prominently on top of the head and flows down the back. Once we’ve gathered all loose hair into the braid, we finish it as a regular three-strand braid and secure it with an elastic. The straightforward technique makes this style perfect for everyday wear and suitable for various occasions.
Dutch Crown Braid
The Dutch crown braid wraps elegantly around your head in a circular pattern that resembles a beautiful crown. Starting with a Dutch braid at the front, we gradually curve the braid around the head instead of braiding straight back.
Alternating between adding hair from the top and bottom as we move creates a seamless band that encircles the entire head. We secure the ends under the braid with bobby pins to maintain the circular shape. This sophisticated style works wonderfully for formal events and effectively keeps hair neatly away from the face while creating an eye-catching focal point.
Dutch Braid Ponytail
Combining a partial Dutch braid with a traditional ponytail creates this versatile hybrid style. We begin by Dutch braiding along the hairline from one side to the other, gathering hair into the braid as we move toward the crown area.
Once the braid reaches our designated stopping point, we gather all the remaining hair, including the completed braid section, and secure everything into a ponytail at the back or side. This technique adds beautiful texture and intricate detail to a simple ponytail base. The resulting style works perfectly for both casual daily wear and active occasions when you need your hair securely styled yet visually appealing.
Fishtail Braid Techniques

Moving beyond traditional three-strand and Dutch braids, we’ll explore the intricate industry of fishtail techniques. These distinctive braids create a stunning woven pattern that resembles the scales of a fish, adding texture and visual interest to any hairstyle.
Classic Fishtail Braid
Creating the classic fishtail braid starts with dividing your hair into two equal sections at the nape of your neck. Take a small piece from the back of the left section and cross it over to join the right side. Repeat this motion by grabbing a thin strand from the back of the right section and crossing it to the left side.
Continue alternating sides throughout the entire length of your hair, maintaining consistent strand thickness for uniformity. Keep your grip firm but gentle to prevent breakage while working down the hair shaft. Secure the end with a clear elastic band to maintain the clean fishtail pattern.
This foundational technique typically takes 5-7 minutes to complete and works best on hair that’s at least shoulder length.
Side Fishtail Braid
Starting the side fishtail braid begins with creating a deep side part and gathering hair to one shoulder. Begin braiding from just behind your ear using the same crossing technique as the classic version. Pull small sections from the back of each divided portion and cross them over to the opposite side.
Work the braid down along your shoulder line to create an elegant asymmetrical look. This positioning allows the intricate fishtail pattern to frame your face beautifully. Gently tug at the outer edges once completed to add volume and dimension.
Side fishtail braids complement both casual outfits and formal attire, making them perfect for versatile styling needs.
Messy Fishtail Braid
Achieving the messy fishtail braid follows the same fundamental crossing technique but embraces imperfection for a relaxed aesthetic. Create your fishtail braid using slightly larger sections than the classic version to speed up the process. Allow some shorter pieces to escape naturally as you work down the length.
Once you’ve secured the braid, gently tug on random sections throughout to loosen the weave and create texture. Focus on pulling apart the outer loops rather than the crossing points to maintain the braid’s integrity. This pancaking technique adds width and creates that coveted undone look.
Perfect for casual occasions, this effortless style takes just 3-4 minutes to complete and works exceptionally well on second day hair when natural oils provide extra grip.
Waterfall Braid Romantic Looks
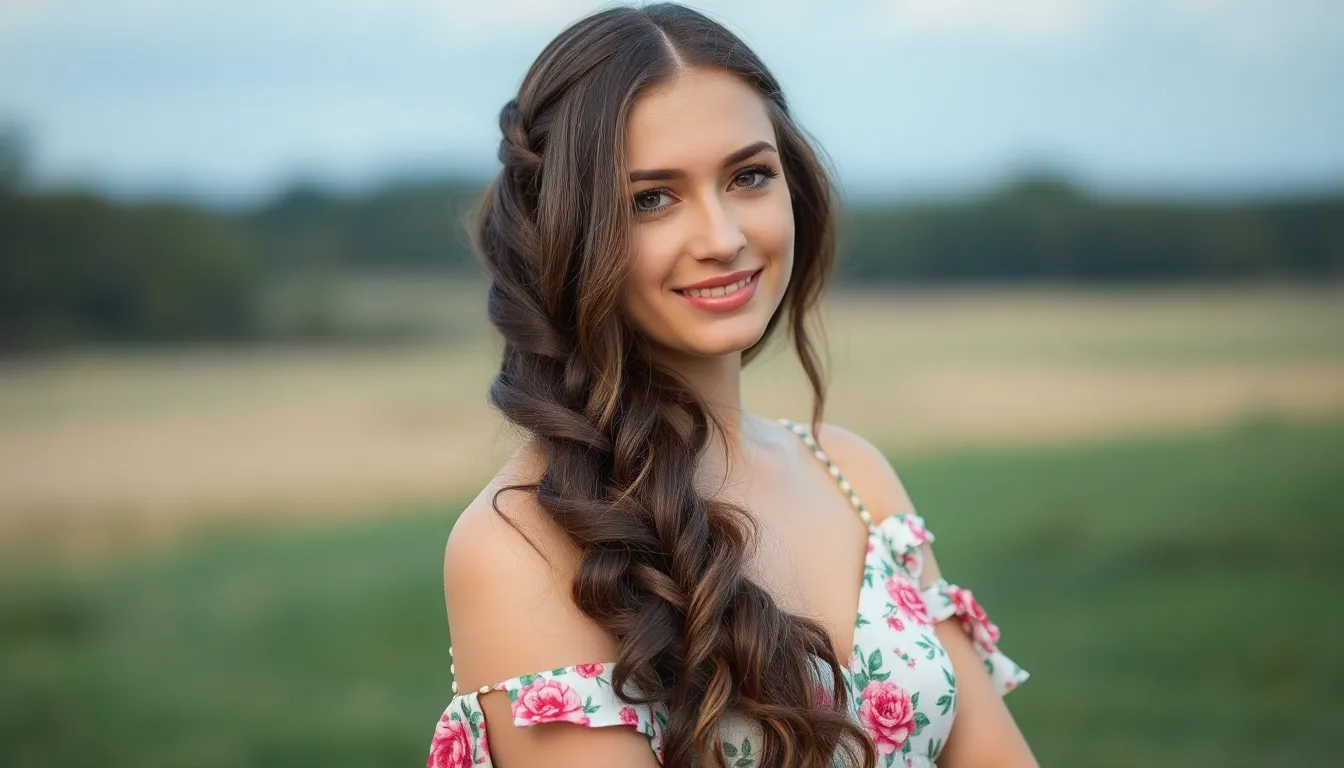
Waterfall braids create the perfect romantic aesthetic by releasing sections of hair while picking up new ones, forming a beautiful cascading effect. These elegant styles add sophistication to any outfit and work beautifully for both casual and formal occasions.
Half-Up Waterfall Braid
Half-up waterfall braids offer the perfect balance between structured elegance and flowing romance. We create this look by braiding only the top portion of hair while leaving the remaining length loose and cascading. Starting from one temple, we weave the braid across the crown and secure it behind the opposite ear. This semi-formal style pairs beautifully with various accessories like delicate pins or small flowers. Perfect for date nights or garden parties, this versatile look takes approximately 10-15 minutes to complete and works exceptionally well on medium to long hair lengths.
Side Waterfall Braid
Side waterfall braids bring a whimsical, asymmetrical touch to traditional romantic styling. We begin this enchanting look by parting hair deeply to one side and creating the cascading braid effect along the heavier section. The braid flows diagonally across the head, creating beautiful dimension and movement. This style can be dressed up with decorative bobby pins or kept simple for everyday elegance. We love how this look frames the face naturally while adding texture and visual interest. The finishing time ranges from 8-12 minutes, making it an accessible choice for busy mornings or special events.
Double Waterfall Braid
Double waterfall braids create stunning volume and complexity by incorporating two parallel cascading braids. We create this intricate look by creating waterfall braids on both sides of the head, often meeting at the back or continuing independently. Each braid releases and picks up sections simultaneously, resulting in a sophisticated layered effect. This style works beautifully for formal occasions like weddings or proms where maximum impact is desired. The technique requires patience and practice, typically taking 20-25 minutes to complete, but the dramatic results make the effort worthwhile. We recommend using texturizing spray beforehand to ensure better grip and longer-lasting hold.
Box Braid Protective Styles
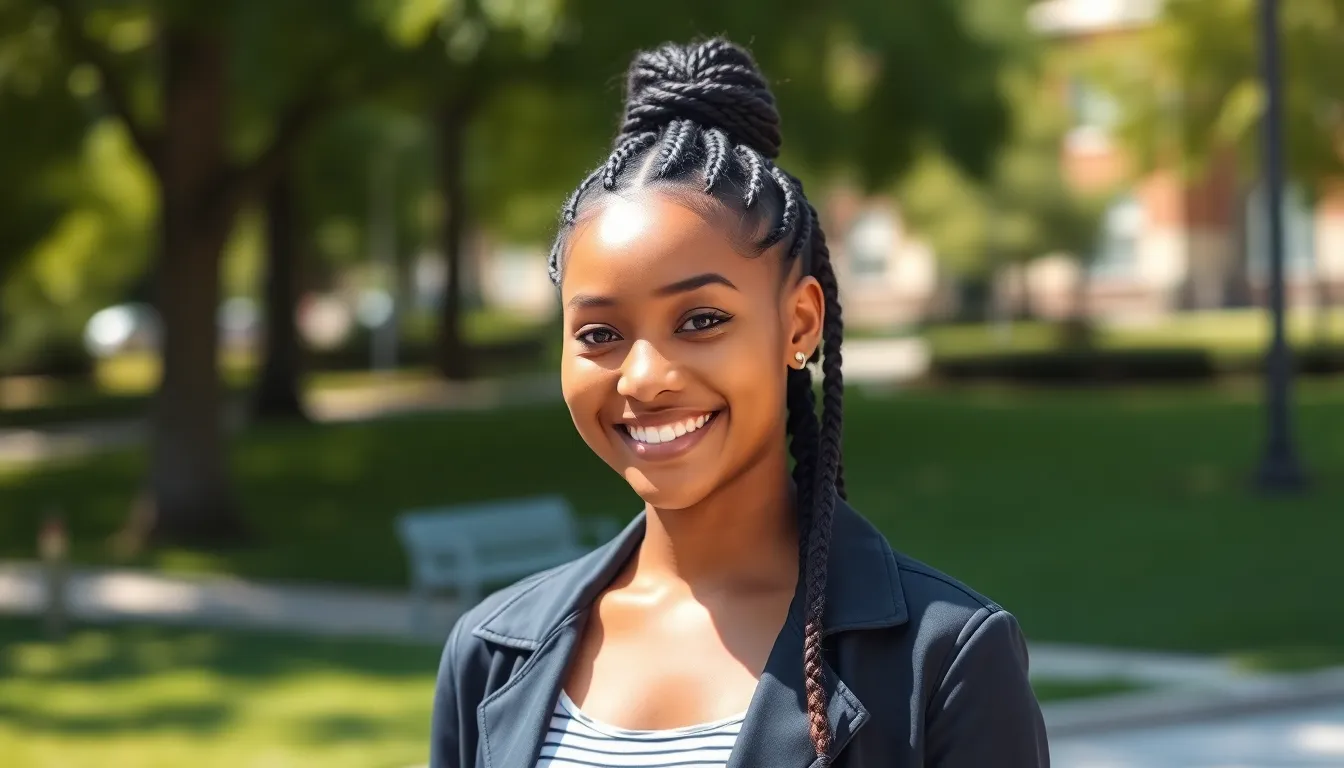
Box braids offer a versatile protective styling option that creates square-shaped sections while safeguarding natural hair from daily manipulation. These braids can be adapted to various lengths and thicknesses, making them suitable for different hair types and personal preferences.
Medium Box Braids
Medium box braids strike the perfect balance between detail and manageability, offering moderate texture without overwhelming your overall look. We recommend this size for those seeking versatility since they work beautifully on both short and long natural hair lengths. Styling options include elegant updos, sleek ponytails, and half-up arrangements that showcase the braid pattern effectively.
Installation requires thorough combing to prevent knots and tangles during the braiding process. We suggest detangling each section completely before beginning to braid from roots to ends. These braids typically take 4-6 hours to complete depending on hair length and can last 2-3 months with proper maintenance.
Jumbo Box Braids
Jumbo box braids feature large, bold sections that create a striking statement while reducing installation time significantly. We find these oversized braids particularly appealing for those who want maximum impact with minimal time investment. Installation typically takes 2-4 hours, making them the quickest box braid option available.
Styling jumbo braids works well for both casual and elevated looks, though their size makes them naturally more noticeable. We recommend trying updos or leaving them loose for different occasions. Maintenance becomes less time-consuming due to their larger size, though regular upkeep remains essential for longevity.
Micro Box Braids
Micro box braids showcase intricate, delicate sections that create the most detailed and refined protective style option. We appreciate their subtle appearance, which makes them ideal for professional settings or those preferring understated elegance. These tiny braids can be styled similarly to medium braids, offering versatility in updos and ponytails.
Installation requires important time and patience, typically taking 8-12 hours due to the precision needed for each small section. We recommend using edge control products to smooth hairlines and prevent frizz throughout the styling process. Maintenance demands more attention because of their delicate size, but the results justify the extra care required.
Crown Braid Elegant Arrangements
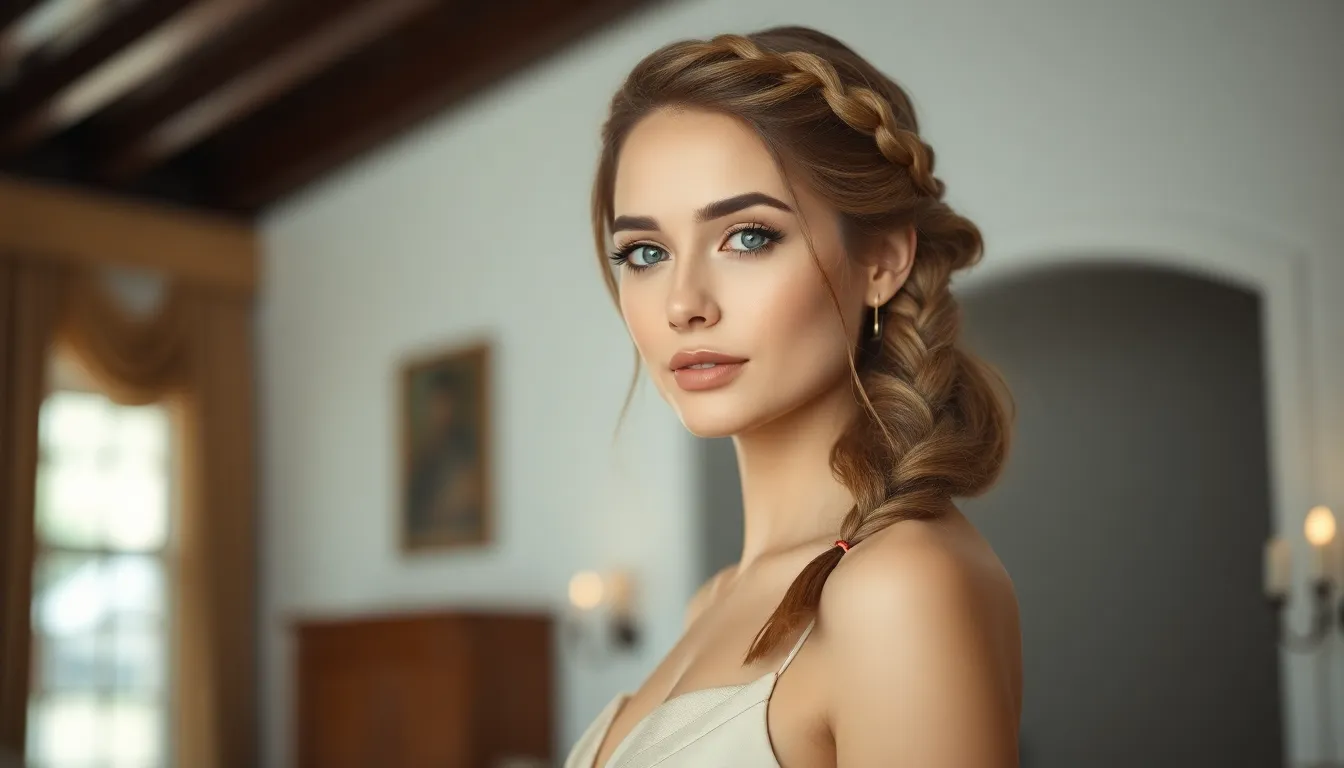
Crown braids transform your hair into a stunning headpiece that commands attention at any formal event. We’ll explore three sophisticated variations that create the perfect regal look for your special occasions.
Halo Crown Braid
Halo crown braids create a complete 360-degree circle around your head, forming an ethereal headpiece that’s perfect for weddings and formal events. Start by sectioning your hair horizontally around your head at ear level, then begin a Dutch braid at the nape of your neck. Continue braiding around the entire circumference of your head, incorporating hair from the sectioned portion as you progress.
The technique requires consistent tension throughout the braiding process to maintain the circular shape. Secure the braid with small clear elastic bands as you complete the full circle, then tuck the ends under the starting point. Use bobby pins that match your hair color to hide any loose sections and create a seamless finish. This style typically takes 15-20 minutes to complete and works beautifully with medium to long hair lengths.
Side Crown Braid
Side crown braids offer an asymmetrical approach that’s perfect for those with shorter hair or anyone seeking a more contemporary royal look. Begin the Dutch braid technique on one side of your head, starting above your ear and incorporating hair as you work diagonally across the crown. The braid should curve naturally from one side to the other, creating a partial crown effect that frames your face beautifully.
This variation suits various hair textures and can be adapted for both casual and formal occasions. Secure the braid behind your opposite ear with bobby pins, allowing any remaining hair to flow freely or be styled into loose waves. The asymmetrical placement creates visual interest while maintaining the elegant crown braid aesthetic. Complete this style in approximately 10-12 minutes, making it an ideal choice for busy mornings or quick styling sessions.
Twisted Crown Braid
Twisted crown braids replace traditional crossing techniques with rope-like twists that add incredible texture and dimension to your hairstyle. Create this look by sectioning your hair and twisting two strands together instead of using the standard three-strand method. The twisting motion creates a spiral effect that catches light beautifully and adds visual depth to your crown.
Start at one ear and work your way around your head, adding small sections of hair to each twist as you progress. The rope-like texture distinguishes this style from traditional crown braids while maintaining the same elegant appeal. Secure the twisted sections with hairpins as you complete the crown, ensuring each twist lies flat against your head. This technique works exceptionally well with highlighted hair, as the twisting motion showcases different color dimensions throughout the braid.
Multi-Strand Complex Braids
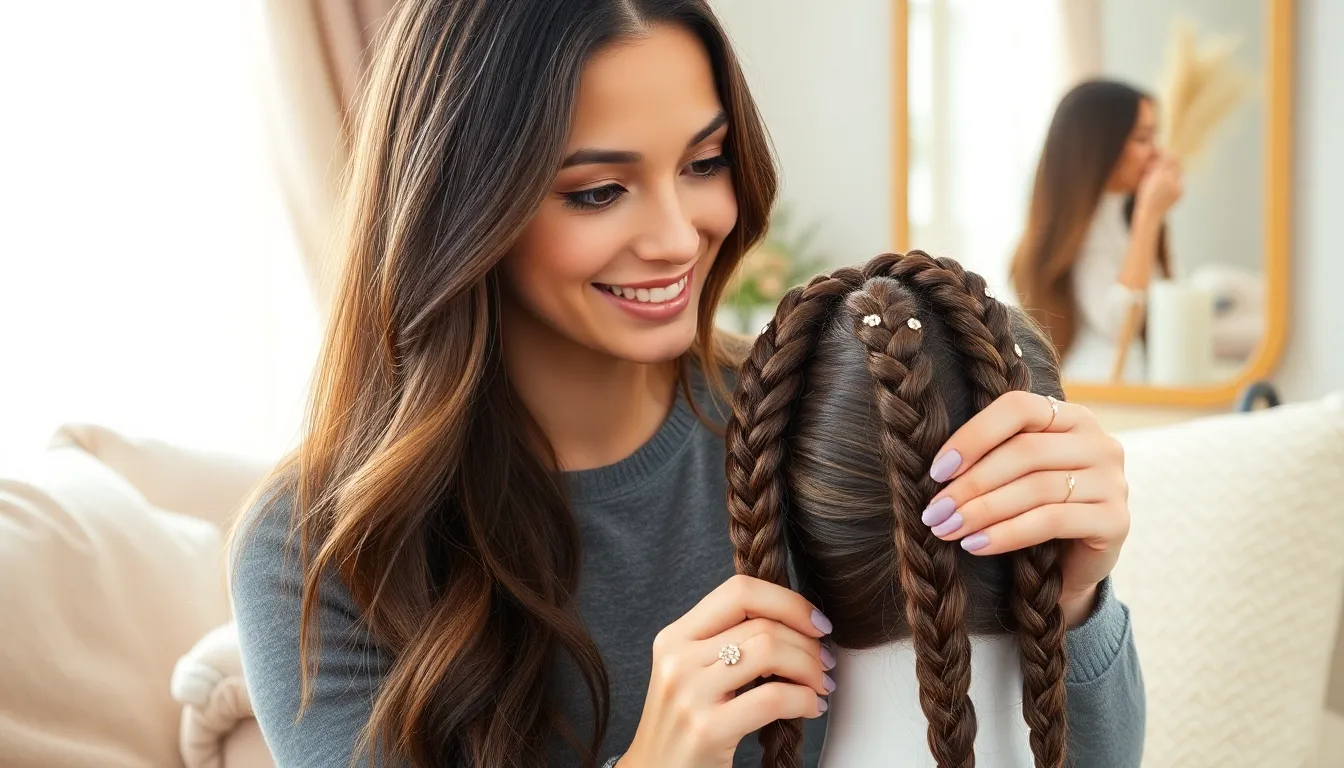
We’re elevating our braiding game with sophisticated techniques that showcase intricate patterns and dimensional texture. These advanced styles offer stunning alternatives to traditional three-strand braids.
Four-Strand Braid
Four-strand braids create unique visual depth through their complex weaving pattern. We divide hair into four equal strands—outer right, inner right, inner left, and outer left—then cross them in a exact sequence to achieve different variations.
Traditional four-strand technique involves crossing the outer right strand over the inner right, then under the inner left, and over the outer left. We continue this pattern while incorporating new hair sections to maintain consistent tension throughout the braid.
Transverse fourth strand method offers an easier approach for beginners. We cross the rightmost strand under two middle strands, then over the leftmost strand, creating a beautiful raised effect that’s simple to understand and execute.
Styling options include wearing this braid down the back for formal events or wrapping it into a low bun for professional settings. The four-strand technique typically takes 15-20 minutes to complete and works best on medium to long hair lengths.
Five-Strand Braid
Five-strand braids showcase the most intricate multi-strand design through precise under-over weaving patterns. We separate hair into five equal sections, then follow a exact crossing sequence that creates beautiful dimensional texture.
Weaving technique requires crossing the rightmost strand under the adjacent strand, over the center strand, under the next strand, and positioning it as the new leftmost section. We repeat this process while maintaining consistent tension to achieve the signature complex pattern.
Precision matters when executing five-strand braids since uneven tension creates irregular patterns. We recommend practicing on mannequin heads or willing friends before attempting this style for special occasions.
Advanced styling allows us to create stunning updos by wrapping the five-strand braid into elaborate chignons or side-swept designs. This technique typically requires 25-30 minutes to complete and works best on longer hair lengths with good grip.
Rope Braid Technique
Rope braids create elegant twisted effects using just two hair strands instead of multiple sections. We achieve this rope-like appearance by continuously twisting each strand in the same direction while wrapping them around each other.
Twisting method involves dividing hair into two equal sections, then twisting each section clockwise while wrapping them counterclockwise around each other. We maintain consistent twisting direction to prevent the braid from unraveling during styling.
Versatile applications allow us to combine rope braids with other techniques for added texture and visual interest. We can create rope braid ponytails, incorporate them into updos, or use them as accent pieces in more complex hairstyles.
Styling benefits include quick execution time of just 5-10 minutes and suitability for various hair lengths and textures. Rope braids work particularly well for casual occasions and can be dressed up with accessories like ribbons or decorative pins for formal events.
Bohemian Braid Festival Styles
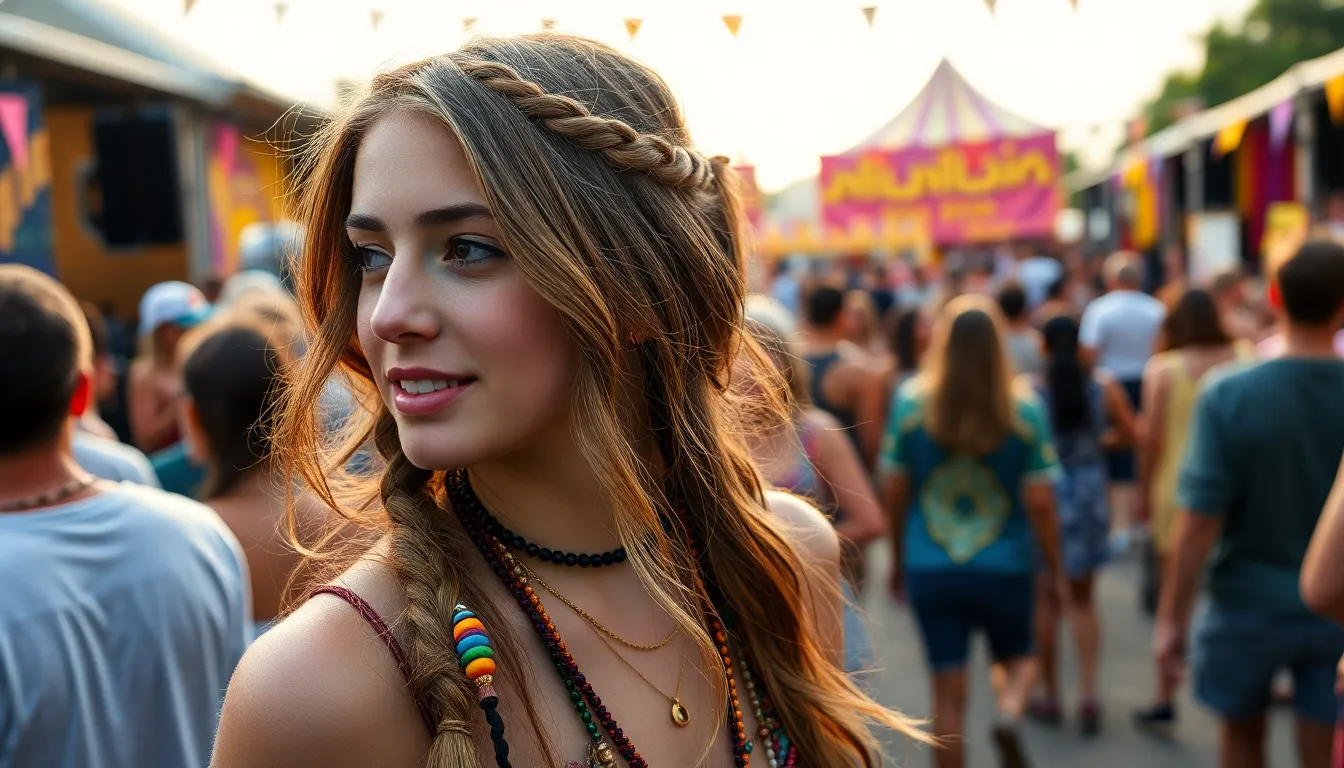
Festival season calls for hairstyles that capture the free-spirited essence of bohemian culture while maintaining their beauty throughout long days of dancing and celebration.
Messy Side Braid
Creating a bohemian side braid transforms your look into the perfect summer festival companion. We start by loosely gathering hair to one side, allowing natural texture to shine through the intentionally imperfect styling. The key lies in keeping the braid relaxed rather than tight, which creates that coveted effortless vibe that defines boho aesthetics.
Pulling out strategic strands after completing the initial braid adds dimension and movement to the style. We recommend gently tugging at the braid’s edges to create fuller sections that catch light beautifully. This technique works exceptionally well for medium to long hair lengths and requires approximately 8-10 minutes to complete.
Multiple Mini Braids
Mini braids scattered throughout your hair create stunning texture while maintaining the carefree festival spirit. We weave small sections of hair into tiny braids, securing each with clear elastics or decorative bobby pins. These delicate braids can be placed randomly or in patterns, depending on your preferred level of structure.
Adding these miniature braids to loose waves creates beautiful contrast between smooth and textured elements. We suggest creating 5-7 mini braids for subtle enhancement or 10-15 for more dramatic impact. The versatility of this style allows you to incorporate colorful thread or small beads for authentic festival flair.
Braid and Bun Combination
Combining braided elements with bun structures creates elevated festival looks that stay secure during active celebrations. We begin by creating a loose braid along one side of the head, then gathering all hair into a low bun at the nape. The braided section wraps around the bun base, adding intricate detail to an otherwise simple updo.
This hybrid style offers practical benefits for long festival days while maintaining sophisticated appeal. We secure the wrapped braid with bobby pins that match your hair color for seamless blending. The entire look takes 12-15 minutes to complete and works beautifully with both straight and textured hair types.
Conclusion
We’ve explored an incredible range of braiding techniques that showcase just how versatile and groundbreaking these hairstyles can be. From the foundational three-strand braid to intricate multi-strand patterns and bohemian festival styles each technique offers unique benefits for different occasions and skill levels.
The beauty of mastering these braid variations lies in their adaptability – you’ll have styling options for everything from professional meetings to weekend festivals. Whether you’re drawn to the protective benefits of box braids or the romantic appeal of waterfall styles there’s a perfect technique waiting for you to discover.
We encourage you to start with simpler styles and gradually work your way up to more complex patterns. Remember that practice makes perfect and even the most intricate braids become second nature with time. Your hair transformation journey starts with choosing just one style and giving it a try.
Frequently Asked Questions
What are the most beginner-friendly braid styles to start with?
The classic three-strand braid is perfect for beginners, requiring only basic crossing techniques. Start with a simple ponytail version to master tension control, then progress to side-swept variations. These foundational styles typically take 5-10 minutes to complete and form the basis for more advanced braiding techniques.
How long does it take to create different types of braids?
Simple three-strand braids take 5-10 minutes, while French and Dutch braids require 10-15 minutes. Fishtail braids need 15-20 minutes due to their intricate crossing pattern. Complex multi-strand braids and crown styles can take 20-30 minutes, depending on hair length and desired finish.
What’s the difference between French braids and Dutch braids?
French braids involve crossing side strands over the middle strand, creating a braid that sits flat against the head. Dutch braids cross strands under the middle section, producing a raised, three-dimensional effect that appears to sit on top of the hair.
Are box braids suitable for all hair types?
Box braids work best on textured and curly hair types, providing excellent protection from daily manipulation. They come in three main sizes: medium (balanced and manageable), jumbo (bold and quick to install), and micro (intricate but time-intensive), accommodating various styling preferences and maintenance capabilities.
How can I make my braids look more professional?
Maintain consistent tension throughout the braiding process and use styling products for better grip. Start with clean, slightly damp hair, and finish with light hairspray or serum for shine. Practice proper sectioning and take your time to ensure even, tight weaves.
What are waterfall braids and when should I wear them?
Waterfall braids create a romantic cascading effect by releasing hair sections while incorporating new ones. They’re perfect for formal events, dates, or when you want an elegant half-up style. The technique works beautifully on medium to long hair lengths.
Which braid styles work best for festivals and casual events?
Bohemian styles like messy side braids, multiple mini braids with colorful accessories, and braid-and-bun combinations are ideal for festivals. These relaxed styles embrace an effortless aesthetic while staying secure during active celebrations and dancing.
How do I choose the right braid for my face shape?
Side braids and side-swept styles complement round faces by adding asymmetry. Crown braids work well for oval faces, while side fishtail braids beautifully frame angular features. Consider your hair texture and length when selecting styles for the most flattering results.
What tools do I need for advanced braiding techniques?
Essential tools include a rat-tail comb for precise sectioning, small clear elastics, bobby pins in matching hair colors, and light-hold styling products. For complex multi-strand braids, having a handheld mirror helps monitor your progress from different angles.
How can I make my braids last longer?
Sleep with braids in a silk or satin pillowcase to reduce friction. Apply light oil to prevent dryness and gently refresh loose pieces. For protective styles like box braids, maintain scalp health with regular cleansing and moisturizing between appointments.
